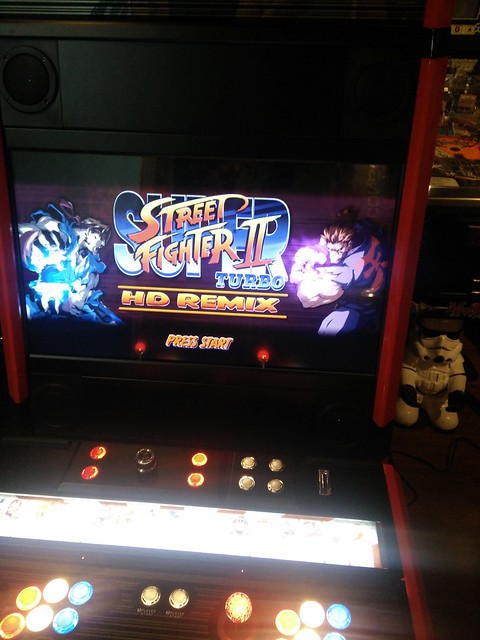
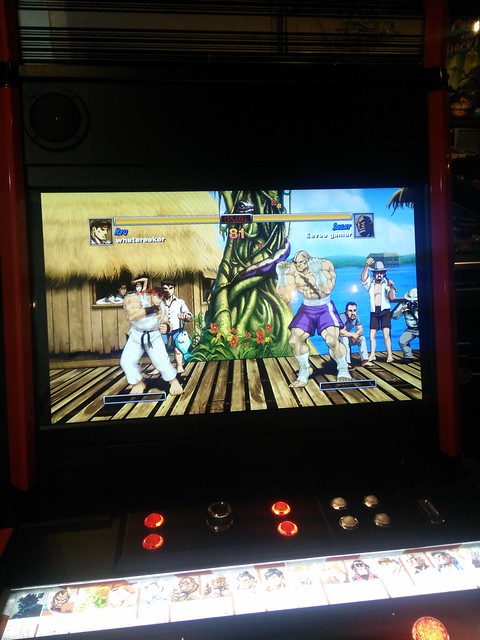
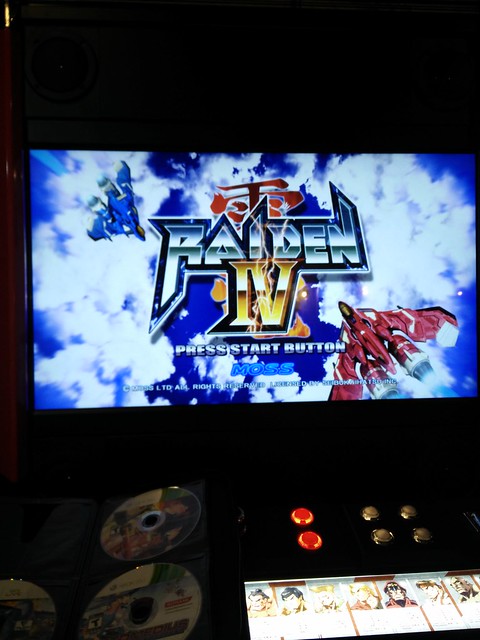
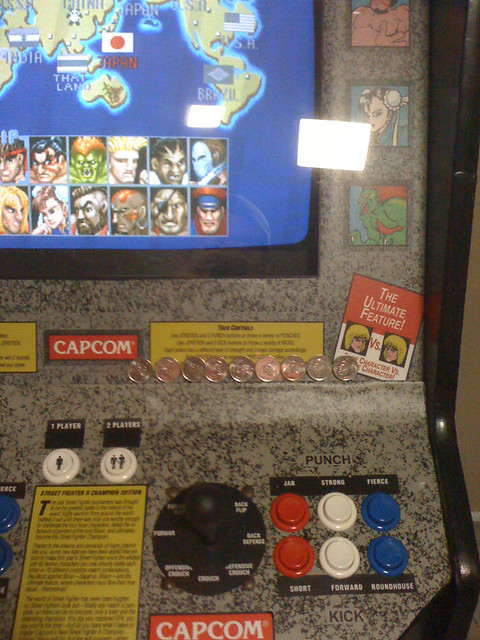
I've been playing with emulation since my early days in university back in 1997-2001 and building MAME and PinMAME cab projects since 2008 for myself and friends. I got myself a dedicated Street Fighter II Champion Edition cabinet in 2009 which I cleaned and fixed up before I MAME'd it.

This was my grail and this actual style of cab was the one I spent the most time on kicking ass at the local arcades. I had some old friends over who I use to play with so I took it off free play and made it so we all had to coin up to face off against each other like we use to back in the day at the Allen Court Pool Hall across from Bayview Secondary School
As my daughter got older she started to play more with my pins and vids. She really enjoyed playing the beat em' ups like Ninja Turtles or Simpsons. It sucked that we could only play 2 players whenever her cousins and friends would come over. I always envisioned getting a Nintendo red tent and turning it into a 4 player dual screen MAME setup.
Sure enough in 2015 that vision became a reality because one had popped up on kijiji and was being sold by an old friend. Funny enough this friend was the same person I got my SF2 cab from too and he actually wanted it back. So we worked out a trade and it worked out for everyone in the end.
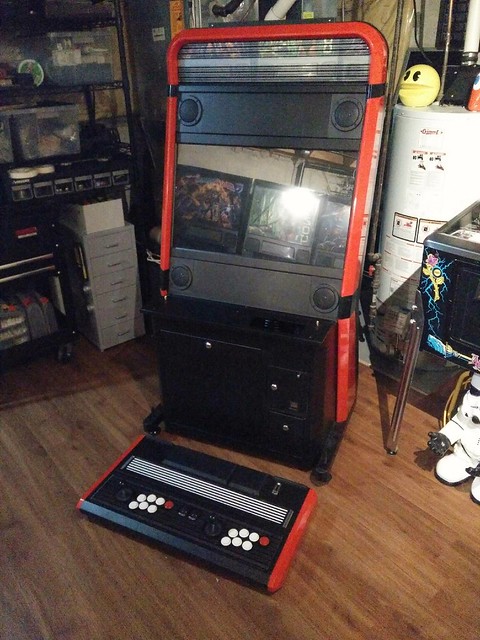
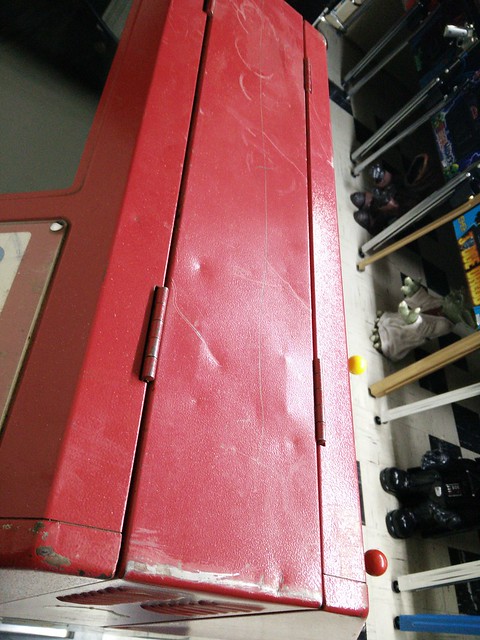
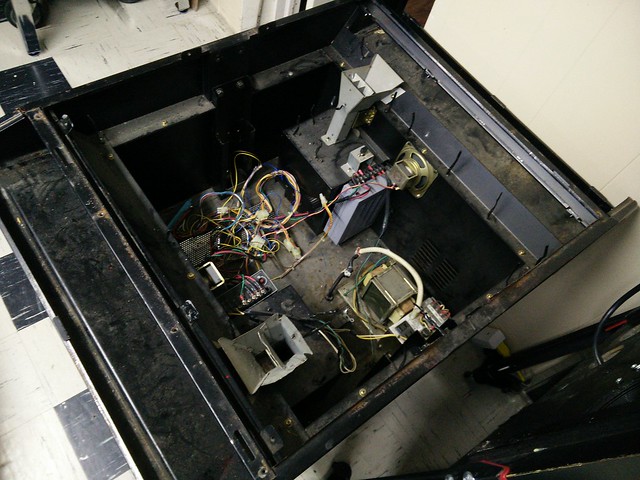
I never documented or posted pics of my red tent because I was scared all the Nintendo fanboys or puristswould hang me for not restoring this back to its original boring form. Thankfully it was already butchered and looked like it lived a very rough life. Here is what I started with.
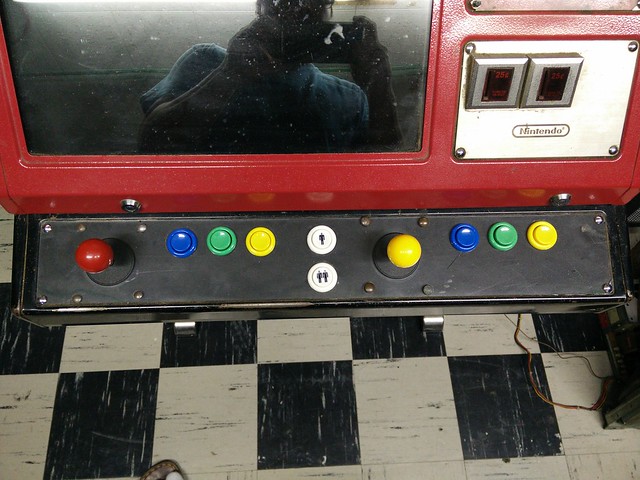
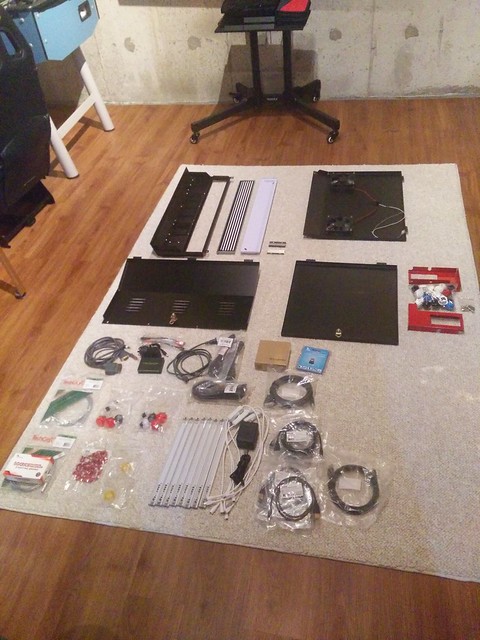
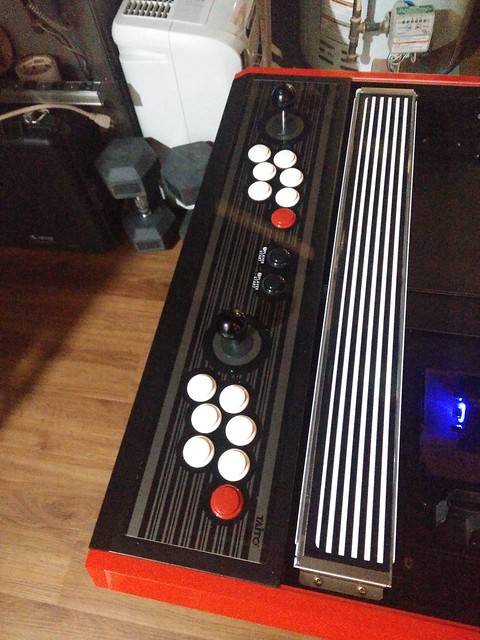
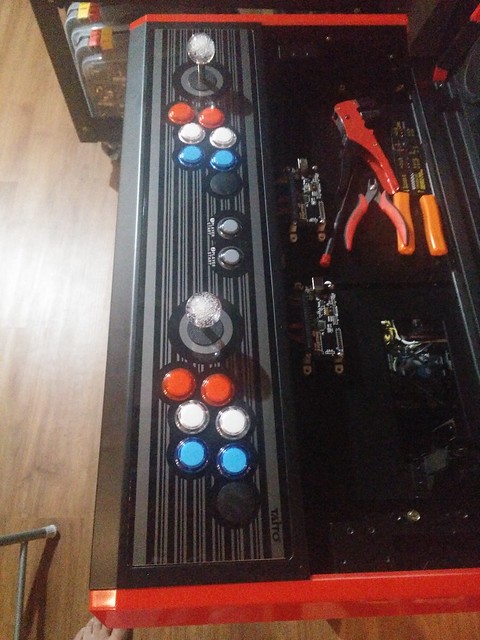
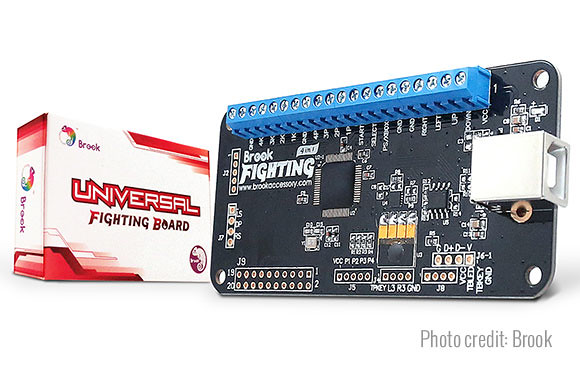
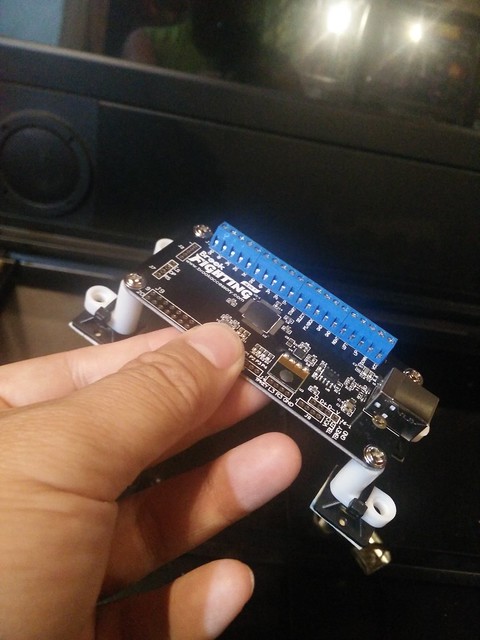
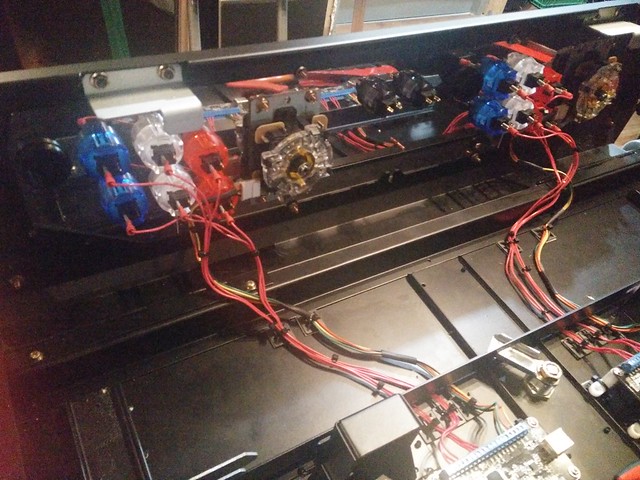
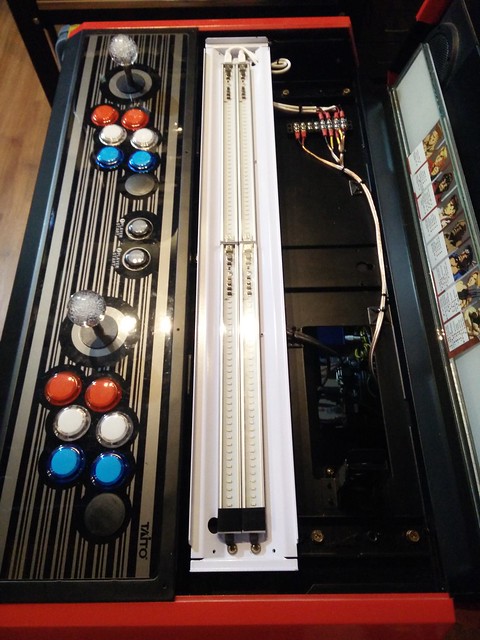
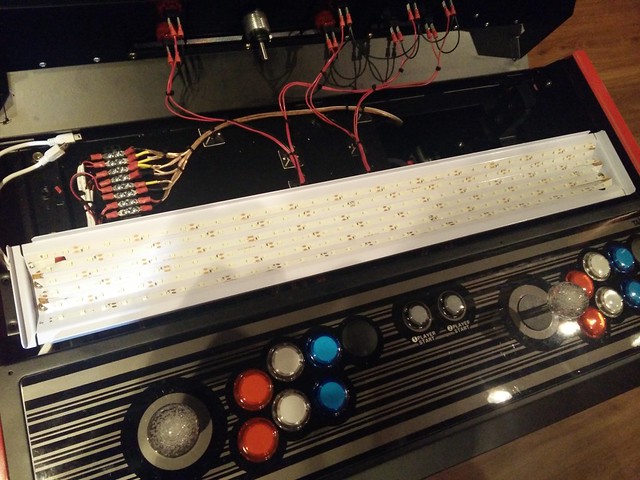
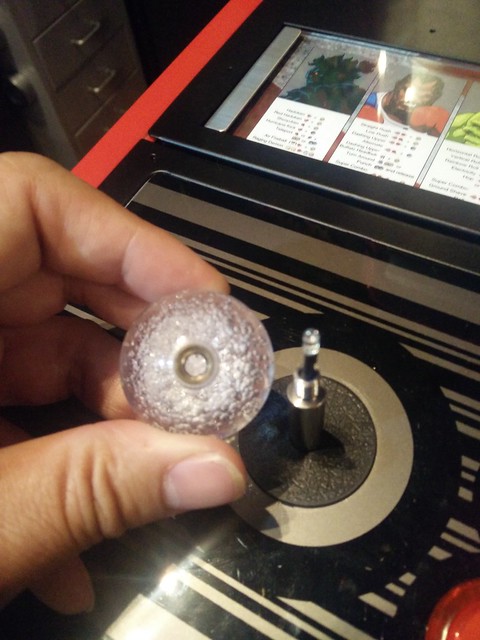
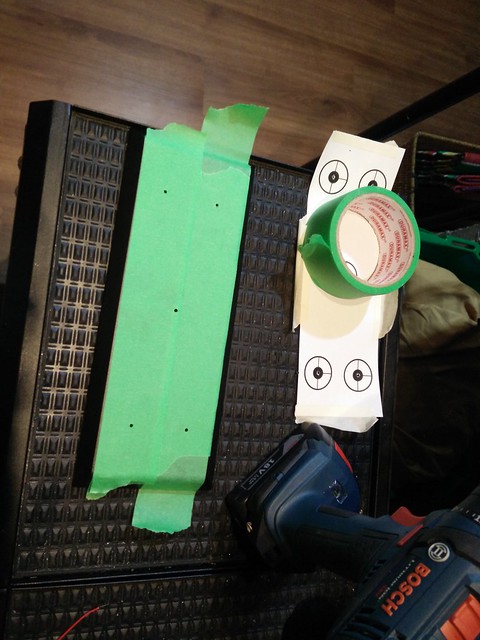
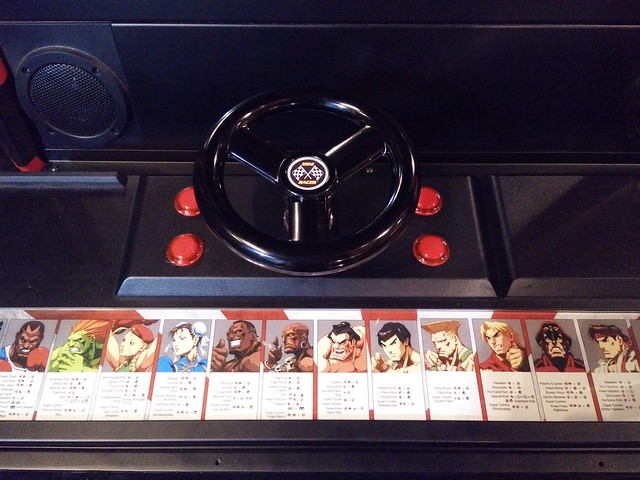
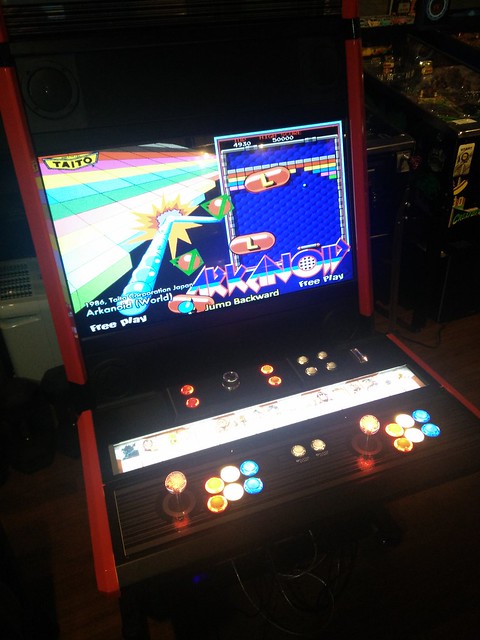
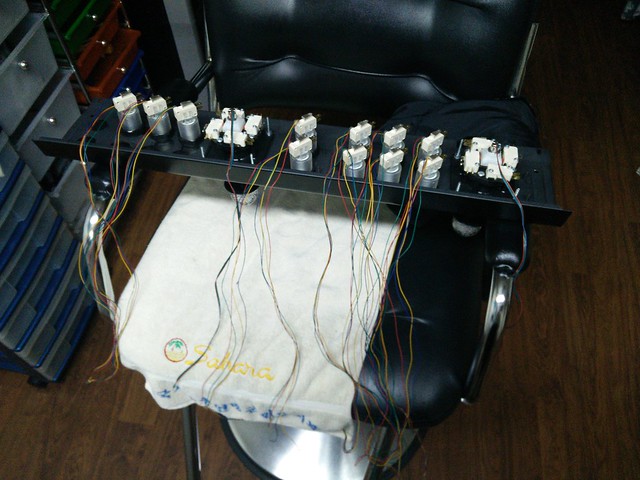
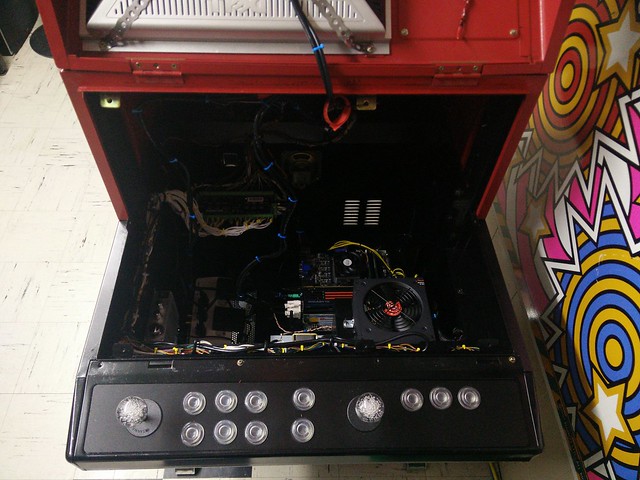
I didn't care for the internals which I believe were wired to play JAMMA boards. I sold off the CRTs and whatever else I stripped out of the cab that I didn't need. I replaced all the controls with iL 8 way euro joy sticks with custom hollow shafts so I could light up RGB ball tops. I also used iL translucent buttons and put in RGB led boards in each one. These controls were not cheap and by the time it was all said and done I had spent close to $350usd! I figured this was going to be my forever keeper MAME setup so I didn't spare any expenses.
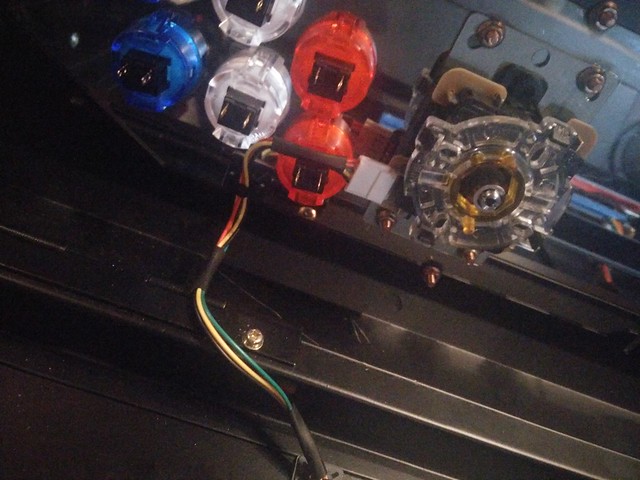
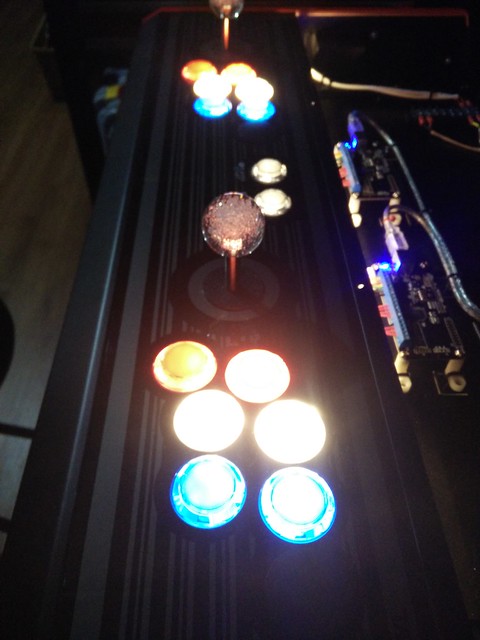
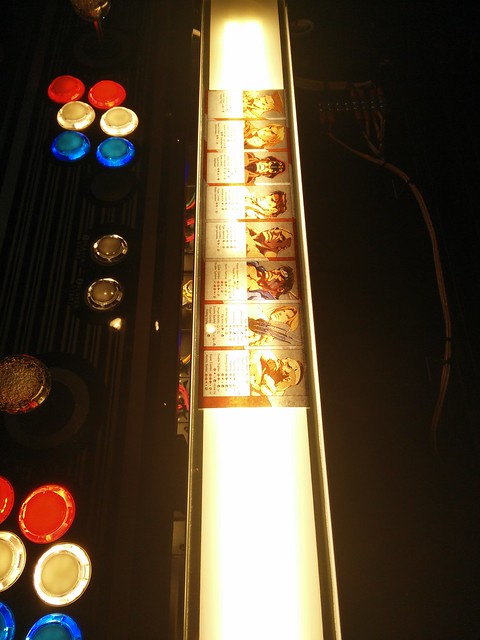
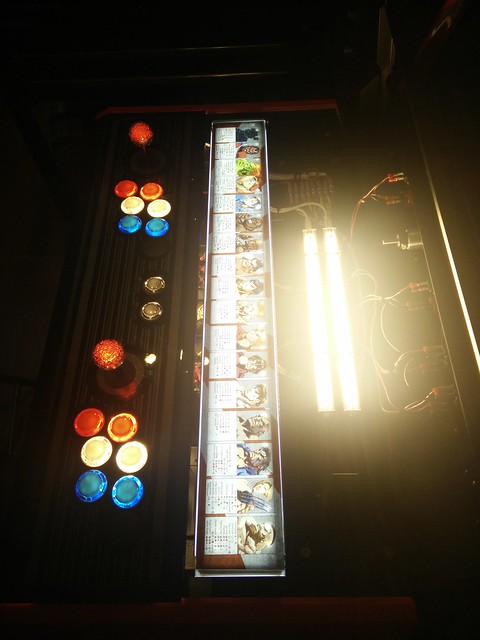
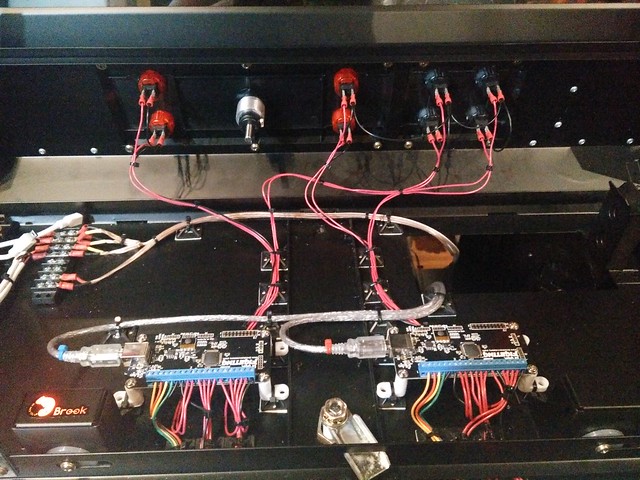
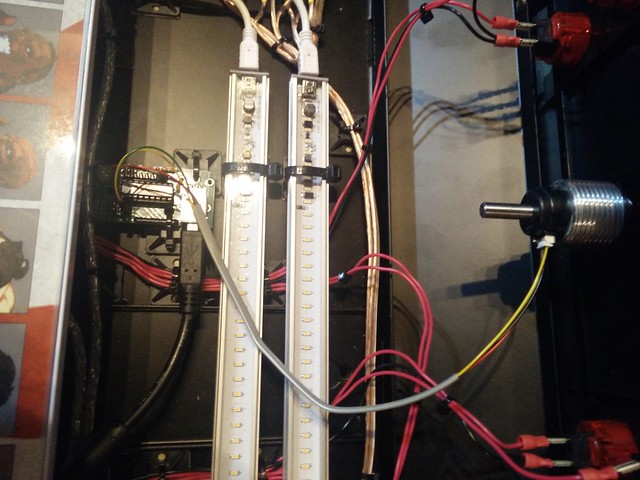
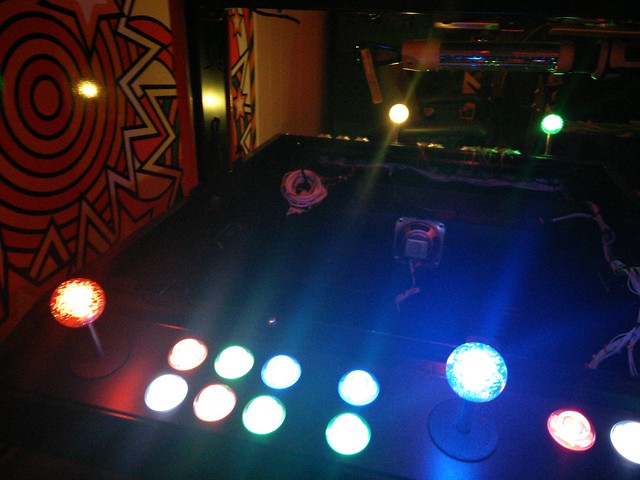
I planned to use LED blinky so only the controls would be dynamically lit for whatever game you had selected. I had Player 1 and Player 3 wired to one side and Player 2 and Player 4 on the other side. So if you picked a two player game only the controls for Player 1 and Player 2 would be lit. I even had it setup so the controls would light up in different colour schemes to match the game too, so for Street Fighter II the buttons would be lit up red, white and blue.
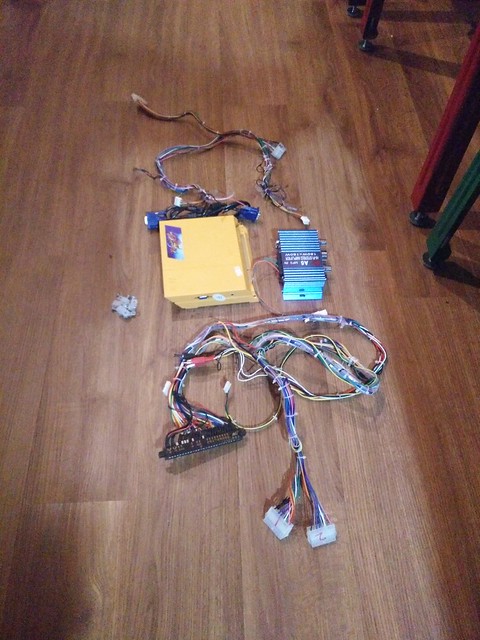
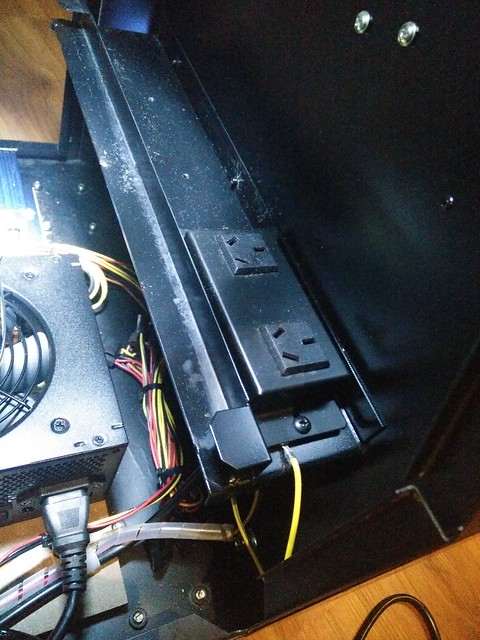
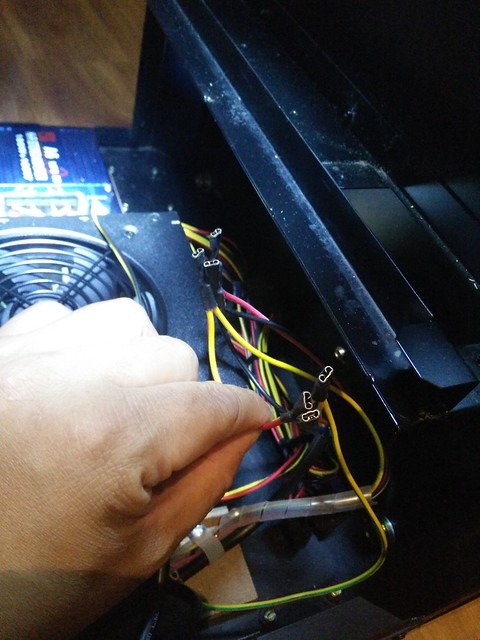
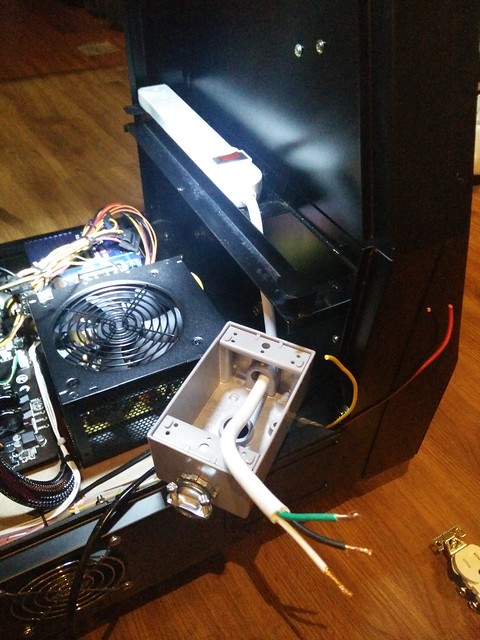
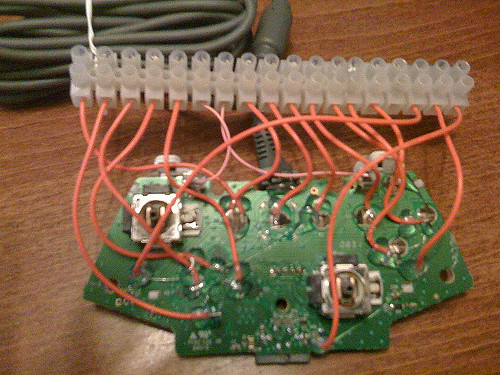
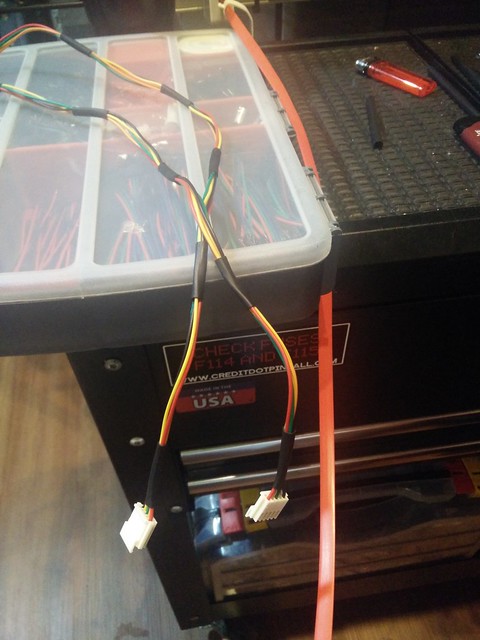
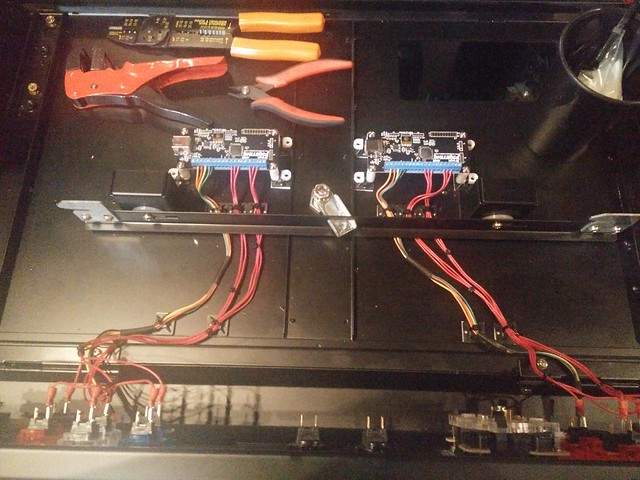
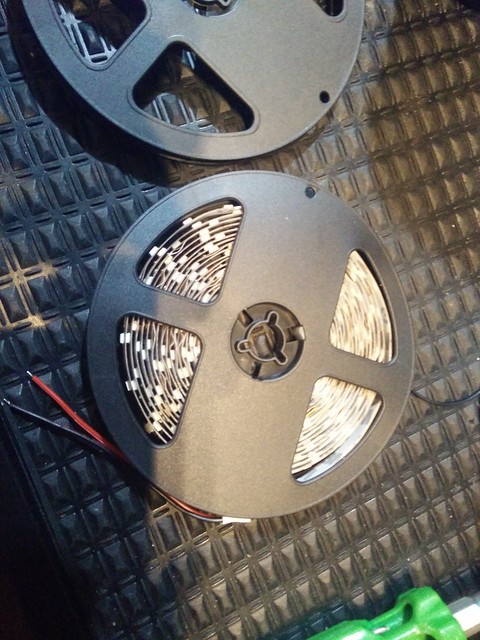
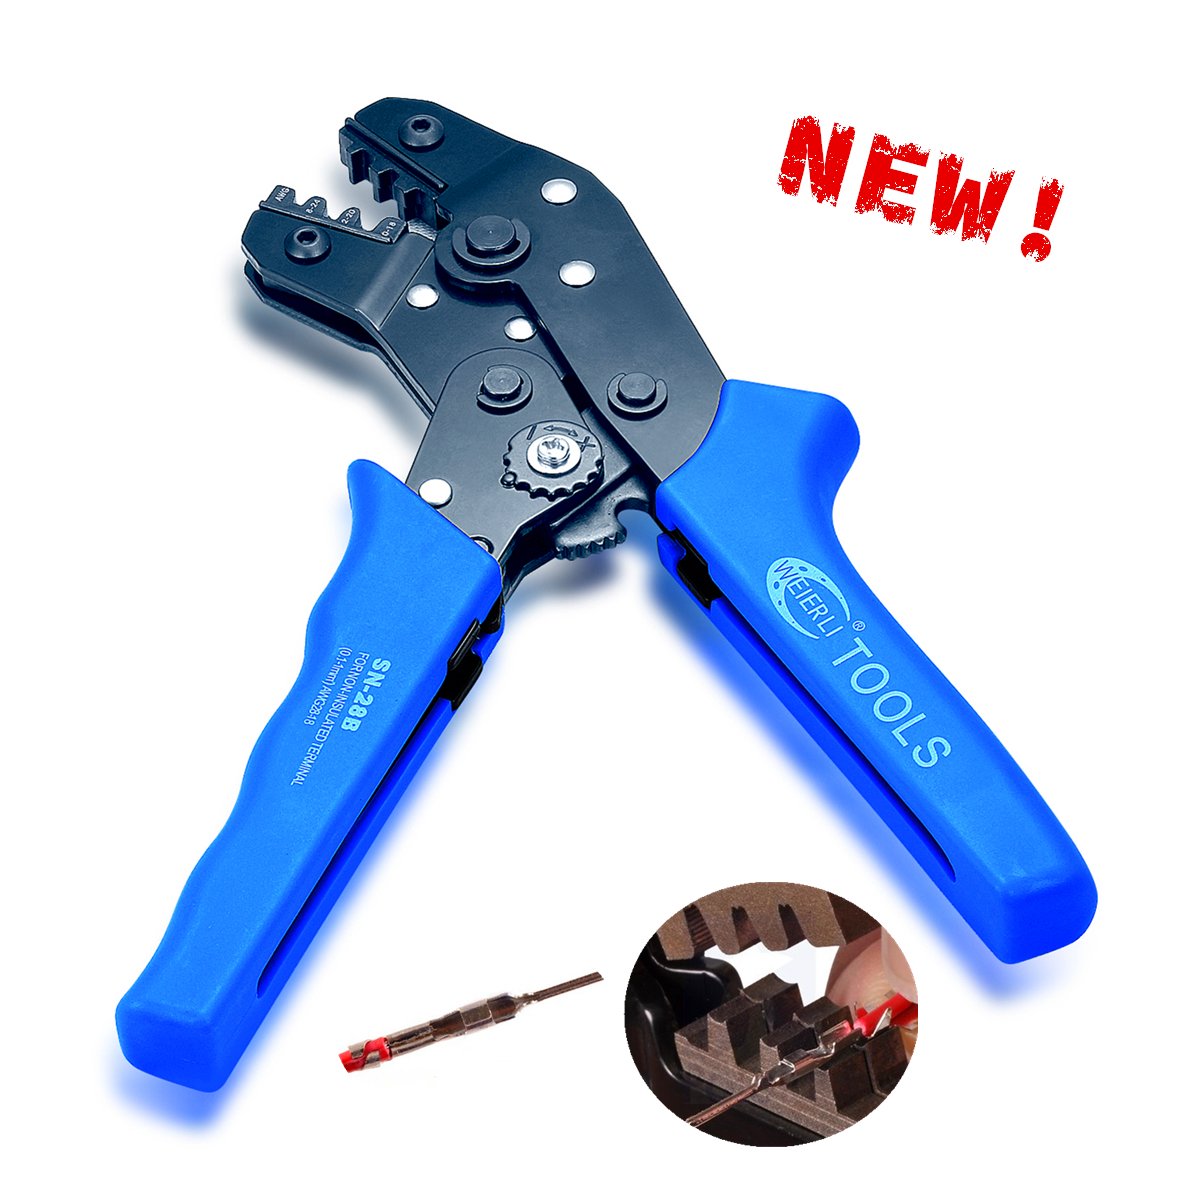
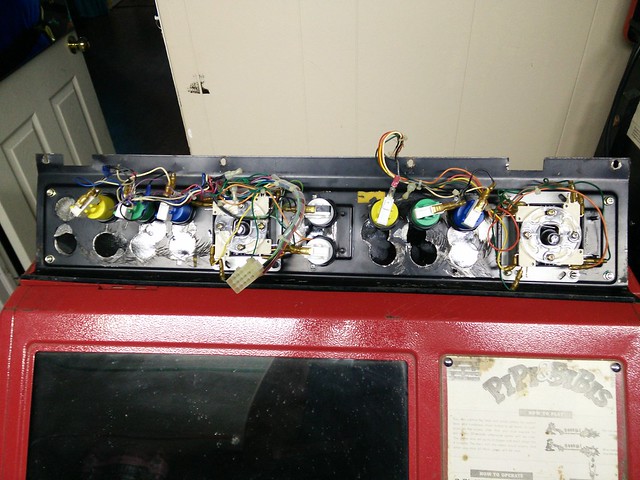
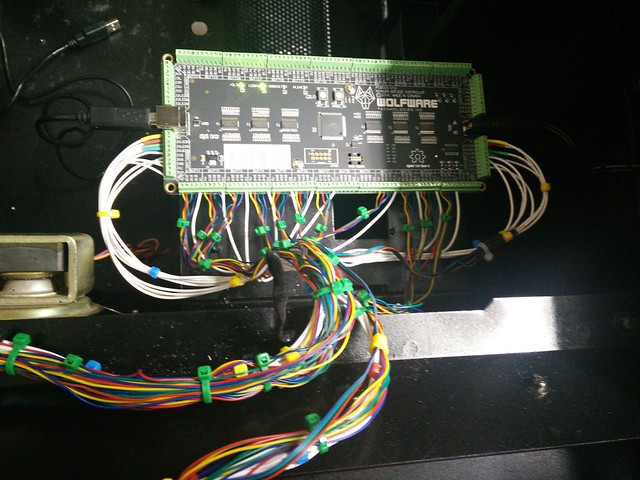
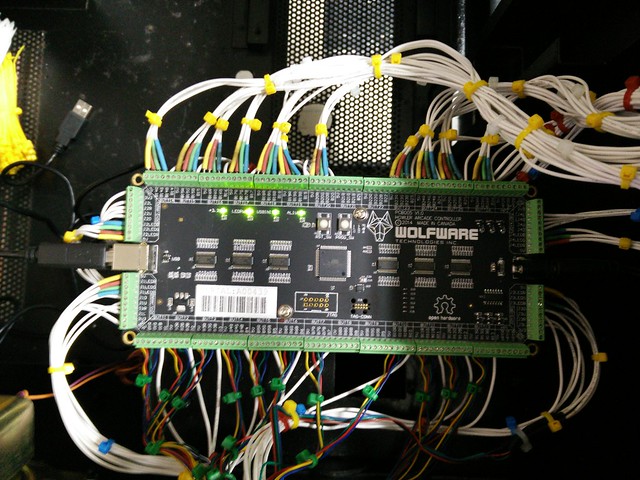
The wiring was quite a pain in the ass and I went through 2.5 spools of wire (~250') by the time it was all said and done. I probably went a bit overboard with the zip ties but I was trying to keep the wiring tight and neat.
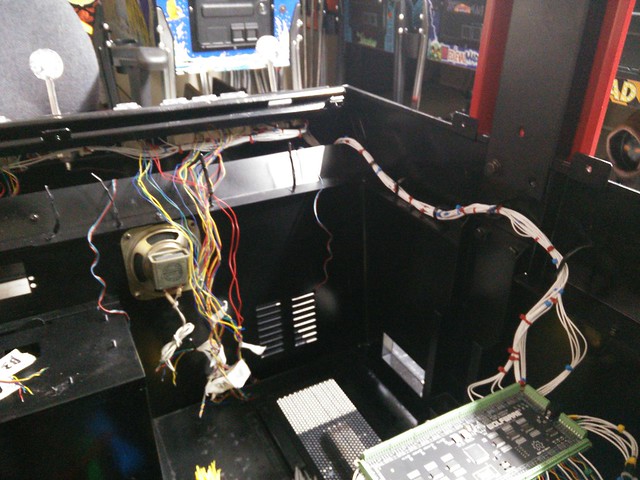
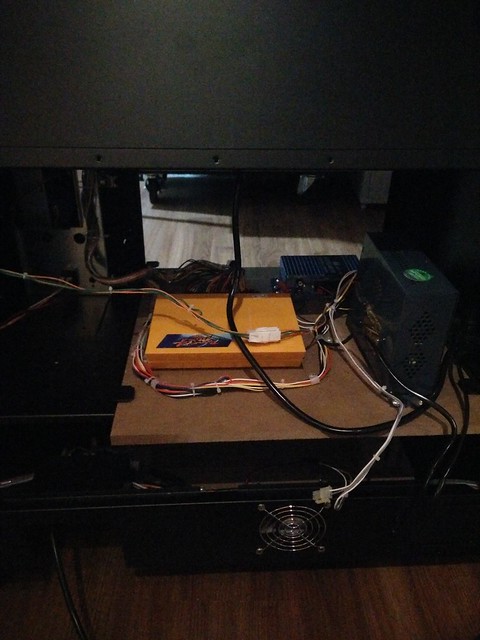
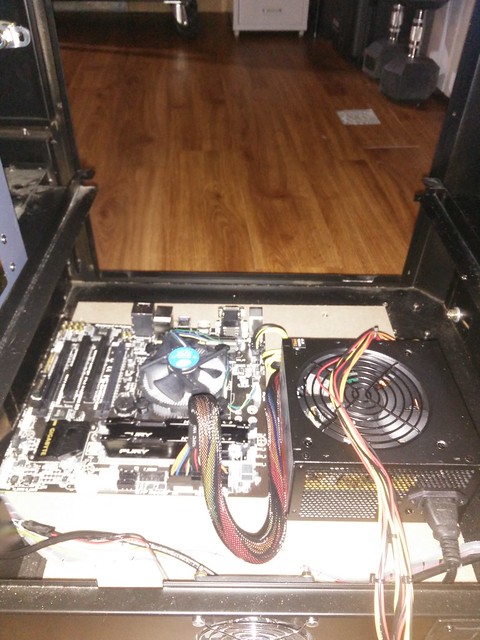
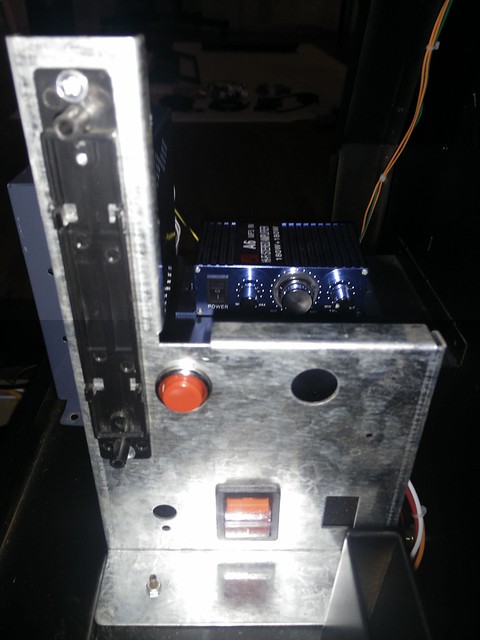
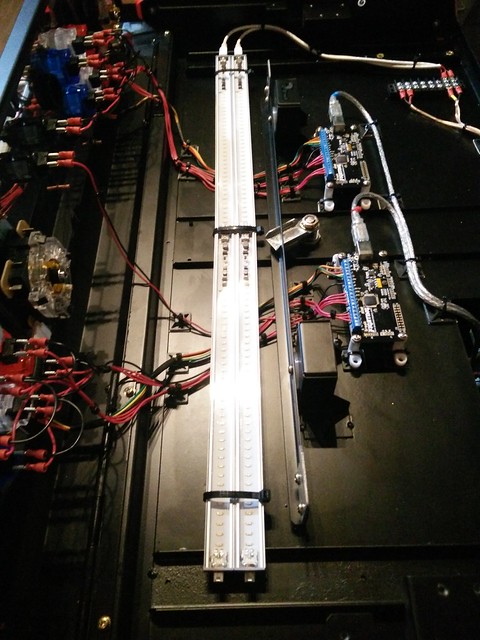
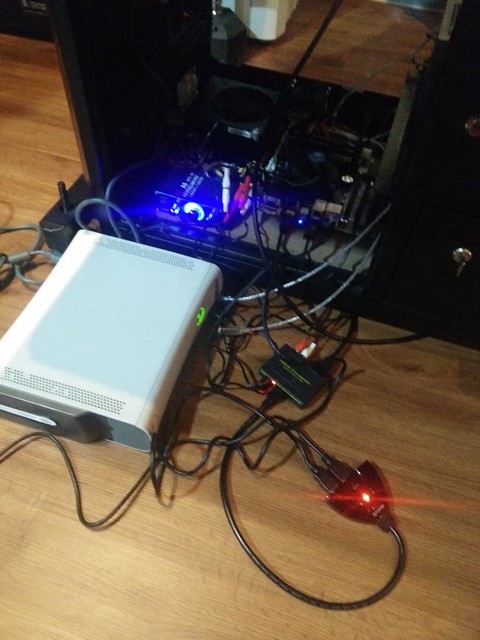
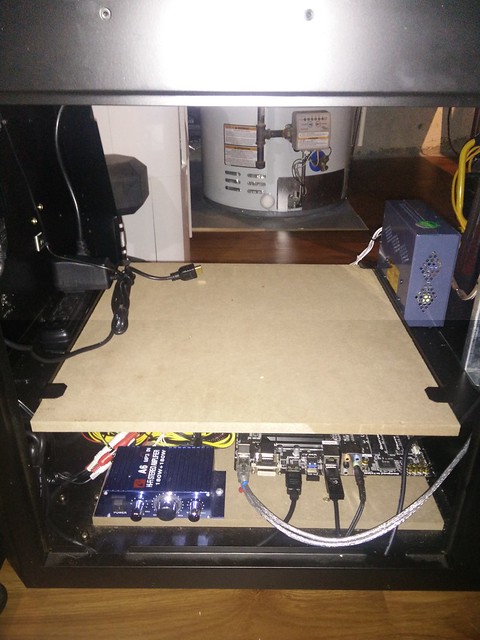
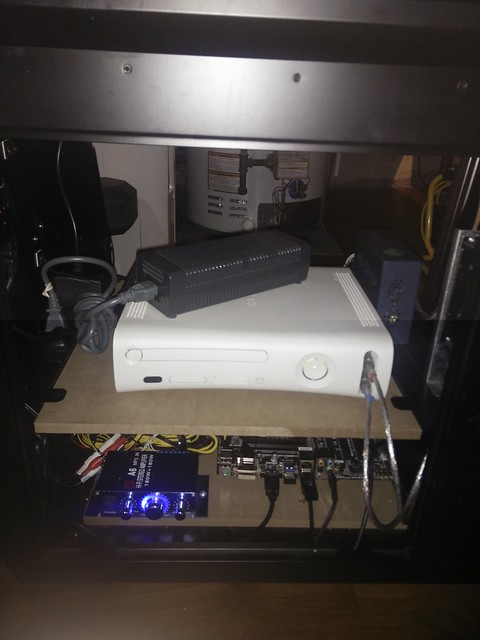
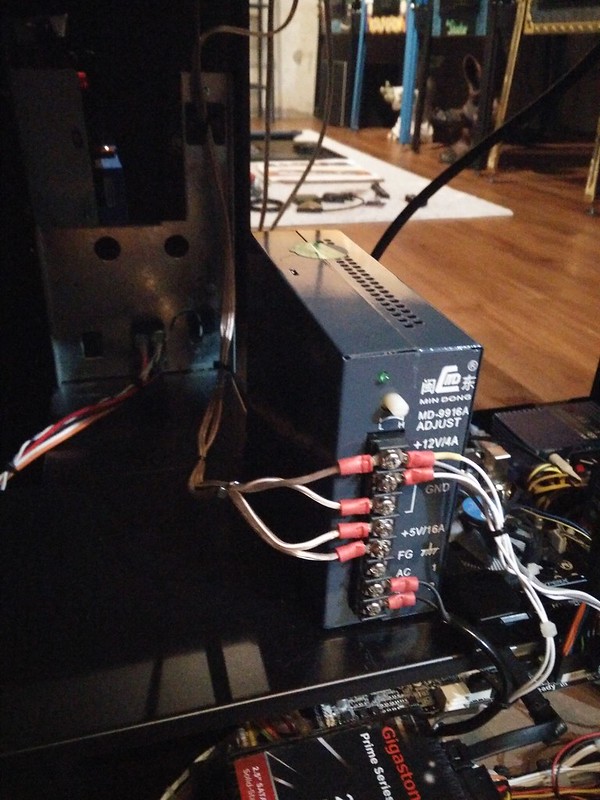
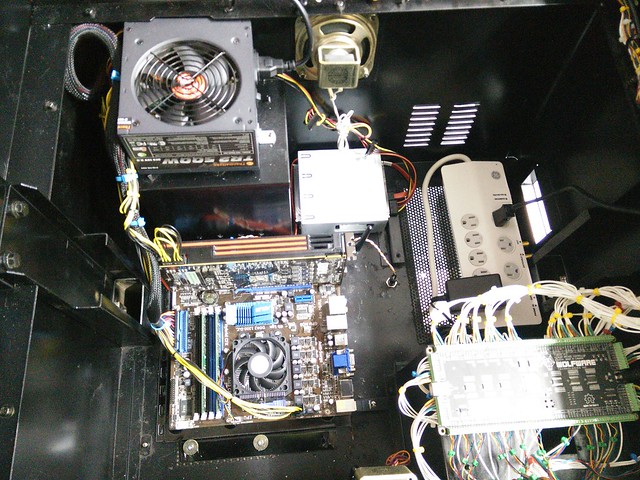
Installed the PC after I got the control panels all wired up and lit up. Installed a Lepai mini amp to drive the existing stock speakers.

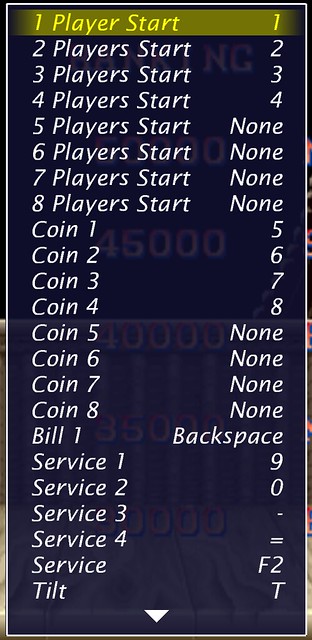
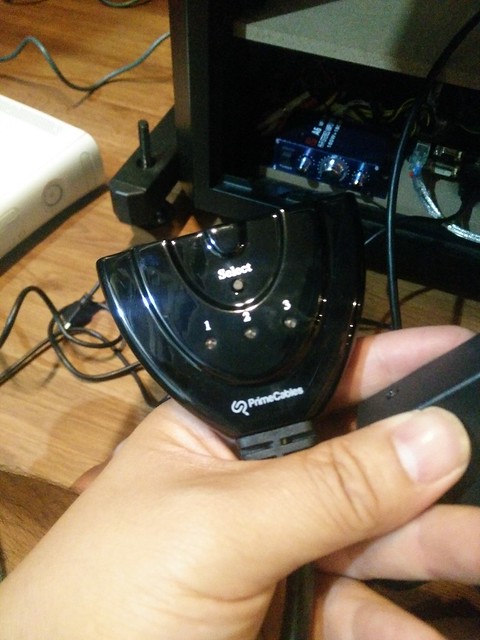
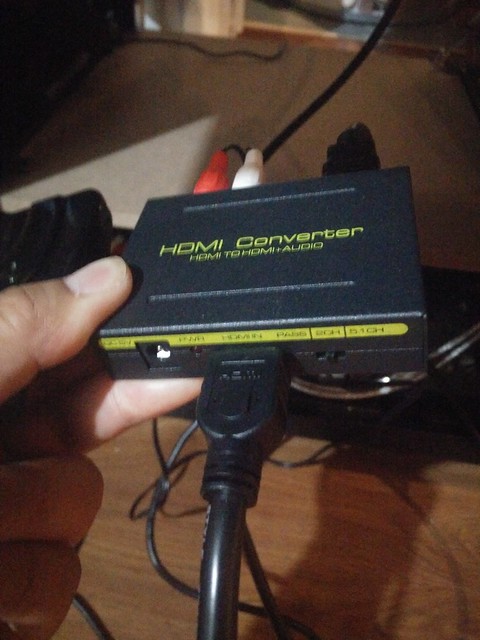
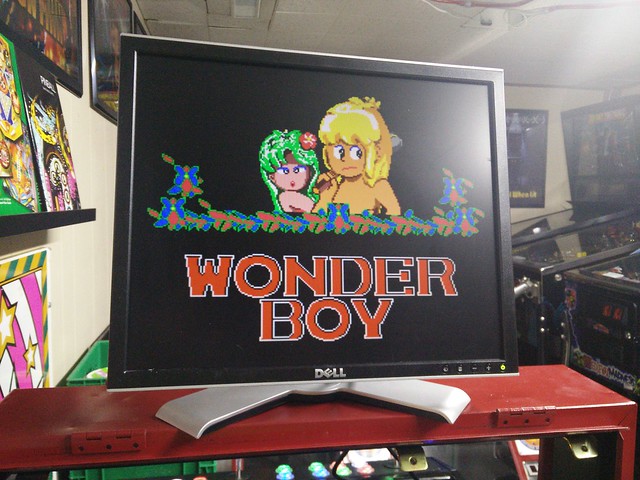
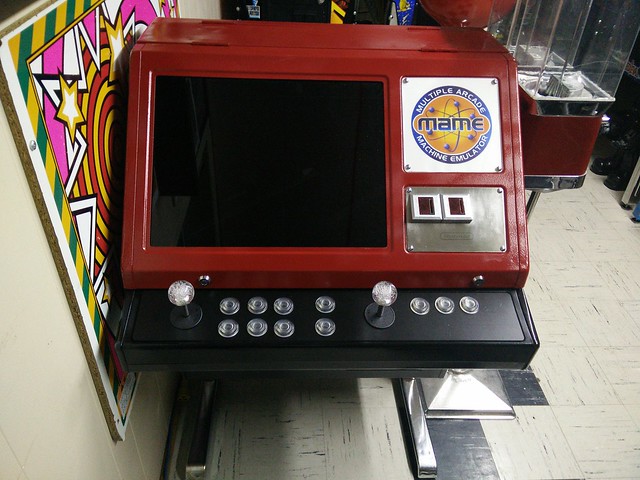
I picked up four Dell 19" LCD monitors off kijiji from a guy who was into stocks and upgraded to a bigger wide screen setup. He originally wanted $80 for all four and I initially offered him $40 for two. Then he said give him $50 and take them all away :lol: These monitors were a perfect fit and I ran the PC with dual screens in a mirrored setup.
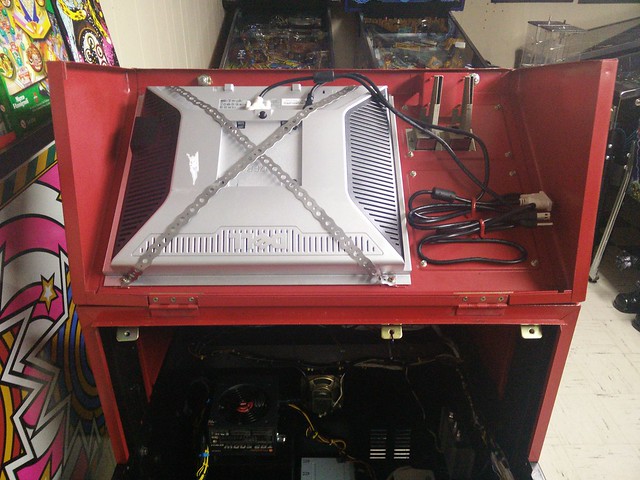
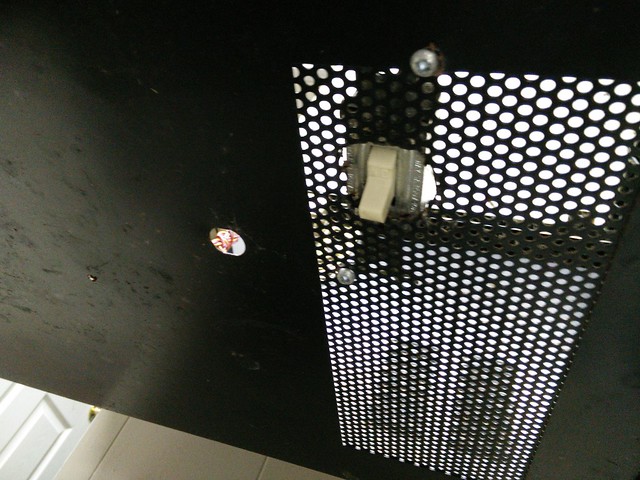
Not having the CRTs helps out a lot with heat management and accessibility to the components inside.
Here is a quick video showing you how it turned out in the end.
This was my grail and this actual style of cab was the one I spent the most time on kicking ass at the local arcades. I had some old friends over who I use to play with so I took it off free play and made it so we all had to coin up to face off against each other like we use to back in the day at the Allen Court Pool Hall across from Bayview Secondary School
As my daughter got older she started to play more with my pins and vids. She really enjoyed playing the beat em' ups like Ninja Turtles or Simpsons. It sucked that we could only play 2 players whenever her cousins and friends would come over. I always envisioned getting a Nintendo red tent and turning it into a 4 player dual screen MAME setup.
Sure enough in 2015 that vision became a reality because one had popped up on kijiji and was being sold by an old friend. Funny enough this friend was the same person I got my SF2 cab from too and he actually wanted it back. So we worked out a trade and it worked out for everyone in the end.
I never documented or posted pics of my red tent because I was scared all the Nintendo fanboys or puristswould hang me for not restoring this back to its original boring form. Thankfully it was already butchered and looked like it lived a very rough life. Here is what I started with.
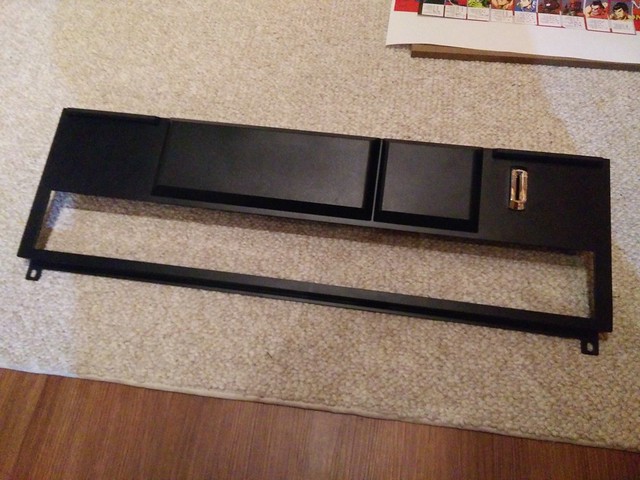
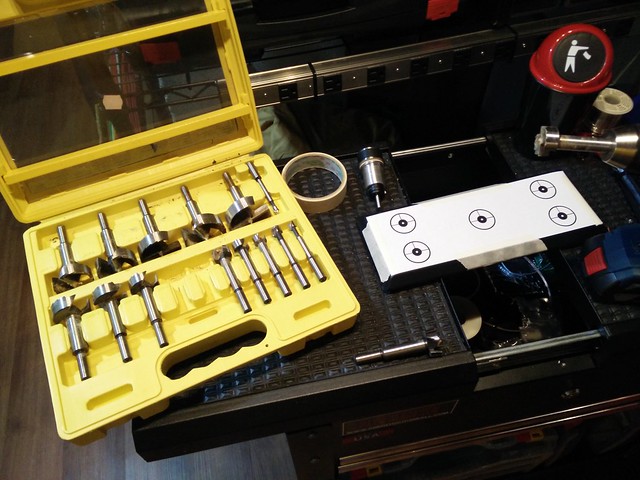
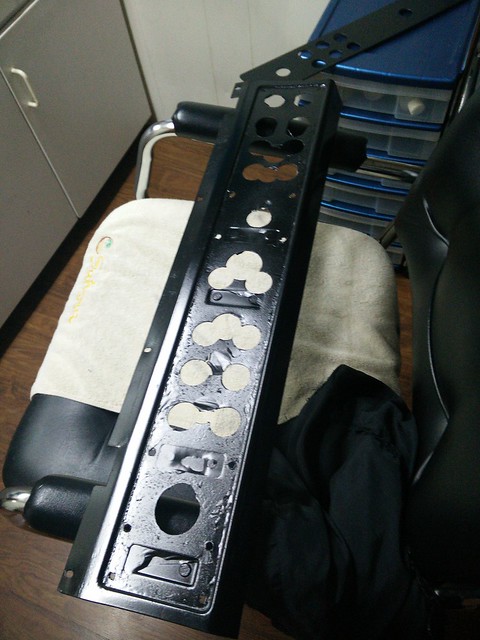
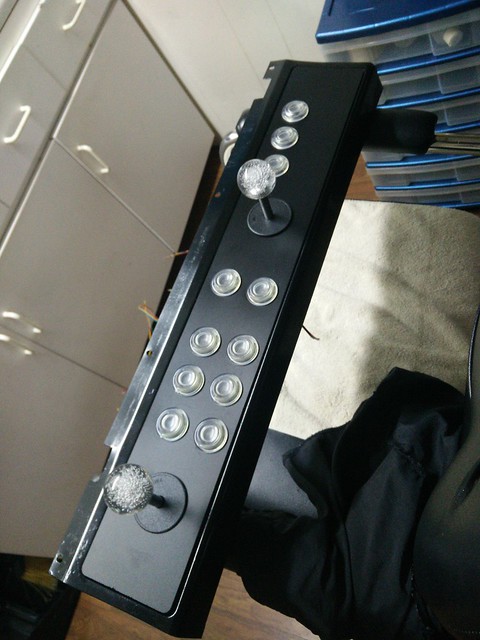
I didn't care for the internals which I believe were wired to play JAMMA boards. I sold off the CRTs and whatever else I stripped out of the cab that I didn't need. I replaced all the controls with iL 8 way euro joy sticks with custom hollow shafts so I could light up RGB ball tops. I also used iL translucent buttons and put in RGB led boards in each one. These controls were not cheap and by the time it was all said and done I had spent close to $350usd! I figured this was going to be my forever keeper MAME setup so I didn't spare any expenses.
I planned to use LED blinky so only the controls would be dynamically lit for whatever game you had selected. I had Player 1 and Player 3 wired to one side and Player 2 and Player 4 on the other side. So if you picked a two player game only the controls for Player 1 and Player 2 would be lit. I even had it setup so the controls would light up in different colour schemes to match the game too, so for Street Fighter II the buttons would be lit up red, white and blue.
The wiring was quite a pain in the ass and I went through 2.5 spools of wire (~250') by the time it was all said and done. I probably went a bit overboard with the zip ties but I was trying to keep the wiring tight and neat.
Installed the PC after I got the control panels all wired up and lit up. Installed a Lepai mini amp to drive the existing stock speakers.
I picked up four Dell 19" LCD monitors off kijiji from a guy who was into stocks and upgraded to a bigger wide screen setup. He originally wanted $80 for all four and I initially offered him $40 for two. Then he said give him $50 and take them all away :lol: These monitors were a perfect fit and I ran the PC with dual screens in a mirrored setup.
Not having the CRTs helps out a lot with heat management and accessibility to the components inside.
Here is a quick video showing you how it turned out in the end.