• We have upgaded to the latest version of XenForum and the process finished without any errors!!!! Enjoy the new forum!

Dr@No's fun filled (and often long-winded) restorations

DRANO

Super Member
Nov 15, 2012
2,821
517
113
Mississauga
Stellar work bro.

Thanks, as always.
Always happy to share the fun.


No update today. I Decided to take a proper break and, instead, went out and helped fix someone else's machine tonight :rolleyes:

I'll get back at it tomorrow.
Thinking I'll strip all the woodrails next.
 

DRANO

Super Member
Nov 15, 2012
2,821
517
113
Mississauga
NO SLEEP TILL A-TOWN!!!
32 days left


Back at it.
As noted last week, weekends are not usually very productive... but I took Friday off so wanted to get back on the horse quickly. The kids finally sat down to watch a movie so I jumped outside and started running some tests stripping the woodrails. I had some leftover CIRCA 1850 stripper. It's a great product and just bubbled up old paint and varnish. Sadly, I'm at the end of my can and am having a hard time finding it in stock anywhere. I hope it hasn't been discontinued :(


I wasn't set up for a large scale stripping job so I set the rails aside and focused on the door.
The Circa 1850 also helped me strip away the remaining paint, but the worst part of this repair has to be the damage to the door.

firstly I pounded it as flat as possible using a block of wood and a small sledge-hammer.
Then I used a vice grip to tightly grab all of the little bends around the perimeter and just pull them straight.


[URL='https://flic.kr/p/rRVf8p']The door frame had some really tough damage around the coin slots. They had been badly pried and rolled out of shape. They sort of look like little robot faces. My job is to make the slots thin again and more 'robot-like". After lots of prying and hammering with chisels, flat head screwdrivers + mallet and some filing, they started to look normal again.


The final thing I tackled after the kids went to bed was the start of the control panel repair.
A few days back I showed how there was a chunk of wood missing. Too much to repair with bondo alone.
I got s slighty undersized piece of hardwood and then chiseled away at the damaged area to get it a bit smoother and remove some of the red paint so I could properly glue it in. Soon I will fill in the gaps with bondo and build it up to the level I want so I can shape it.


And, that was a pretty productive Saturday.
[/url]
 

singlezero

Active Member
Jul 10, 2014
262
60
28
Orillia ontario
i keep checking this thread as im just amazed at the work you are doing and the attention to detail. it will definately inspire me when and if i get to that 62 world series after a couple of "practice/learning " machines.

circa 1850 is still sold and attainable. i talked to my benjamin moore store and they stock it as well as can still bring it in. perhaps the box stores are moving away from that for the more environmental friendly materials. I actually have a new product called "peel away" a paste applied then a fibre put over it over night. probably not the rails you are doing but im going to try it on a repainted cab someday.

also one of the best stains ive used for matching wood with that oil varnished amber hue is a latex Stain Saman " sesame" it has saved me on a ton of painting projects where wood gets replaced from damage in a residential environment. it comes in small containers like the dollar store or craft paints to give it a try. of course test an unassociated piece before hand for colour.

btw are williams logos readily available? i was wondering about possibly replacing the pitch and bat section of a game but i figured the williams logos were unnattainable.

Marvelous work!
 
  • Like
Reactions: DRANO

DRANO

Super Member
Nov 15, 2012
2,821
517
113
Mississauga
Thanks for the tips!
There's a Benjamin Moore near me. Didn't event think to look there.
I'm actually going there tomorrow to see what they have in the way of tinted fillers. I know that larger RONA stores will likely stock the Circa 1850 but I have not been able to get over to the biggest one near me yet.

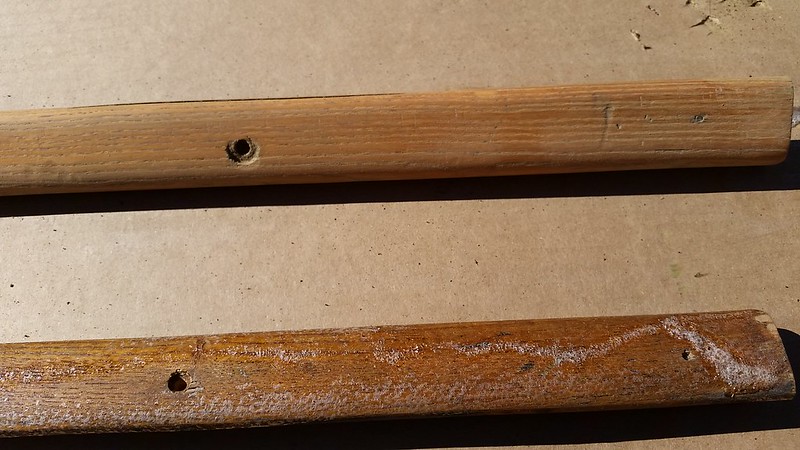
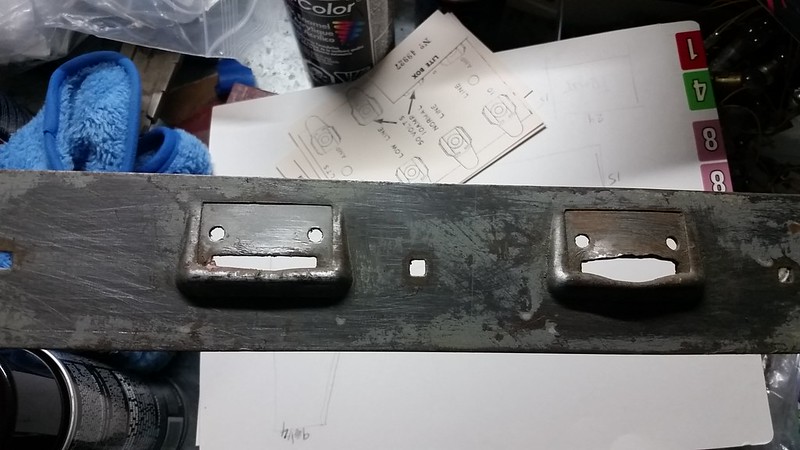
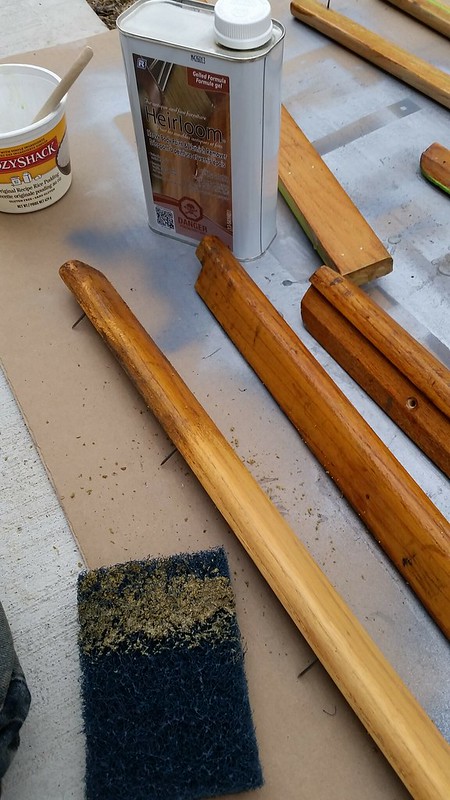
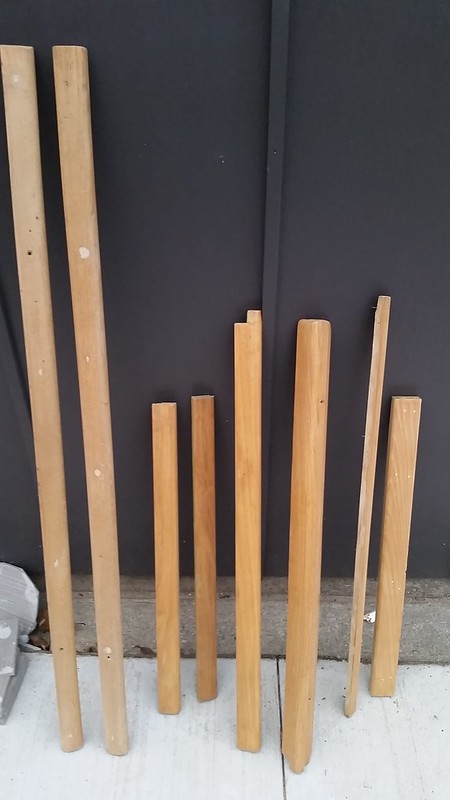
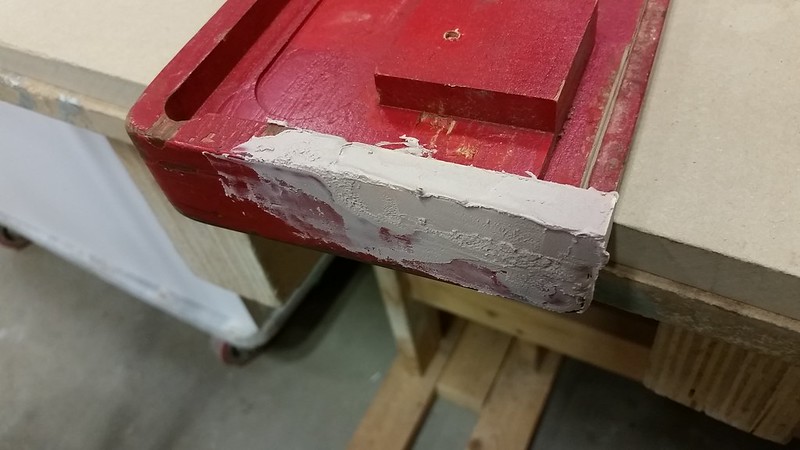
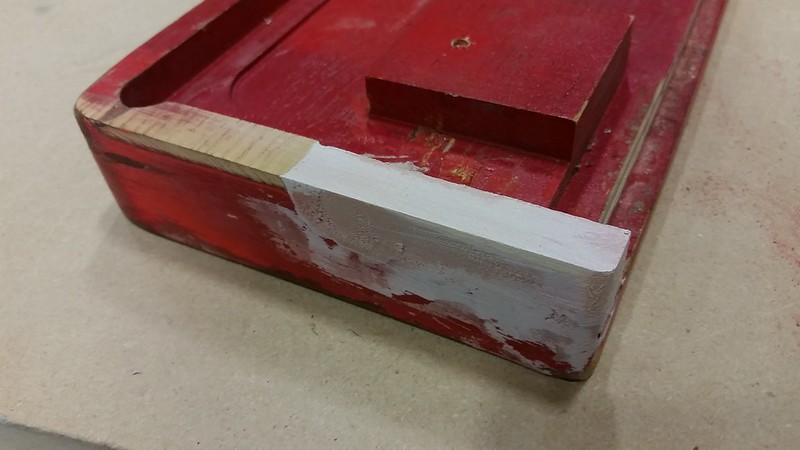
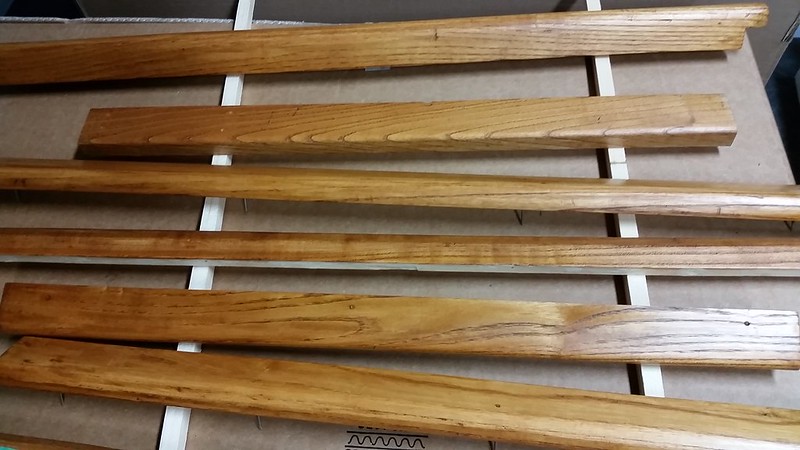
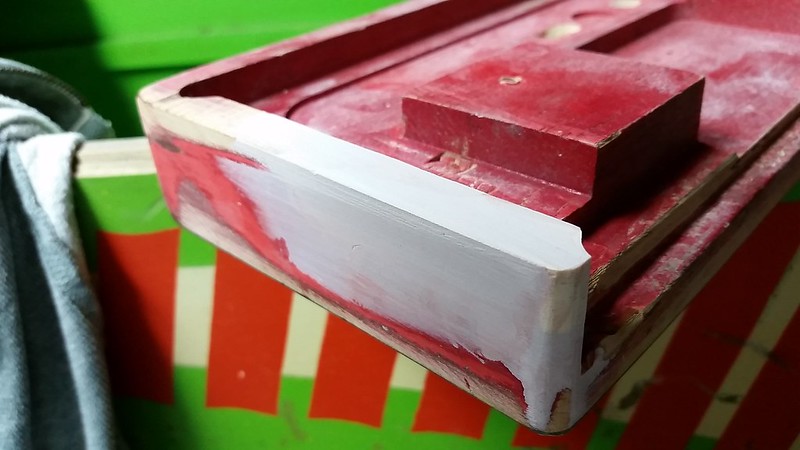
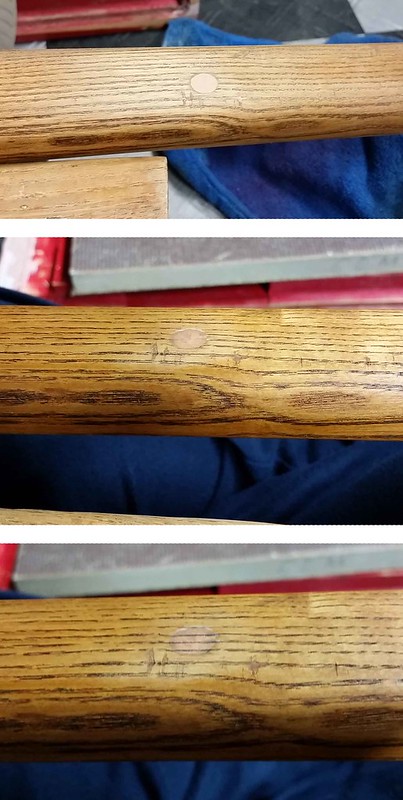
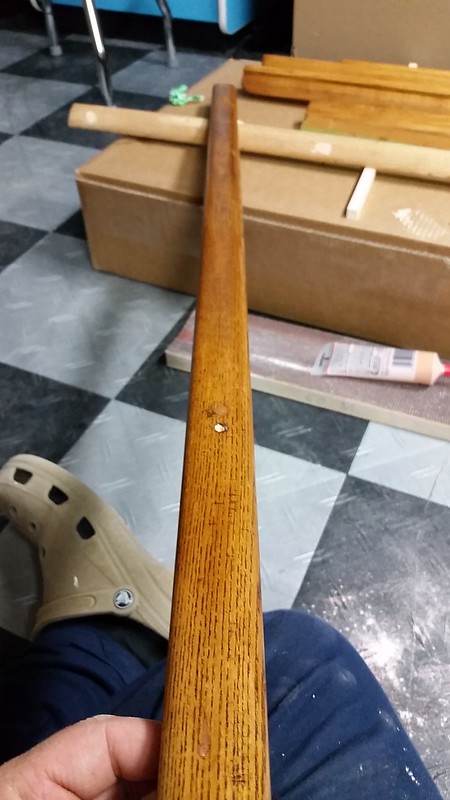
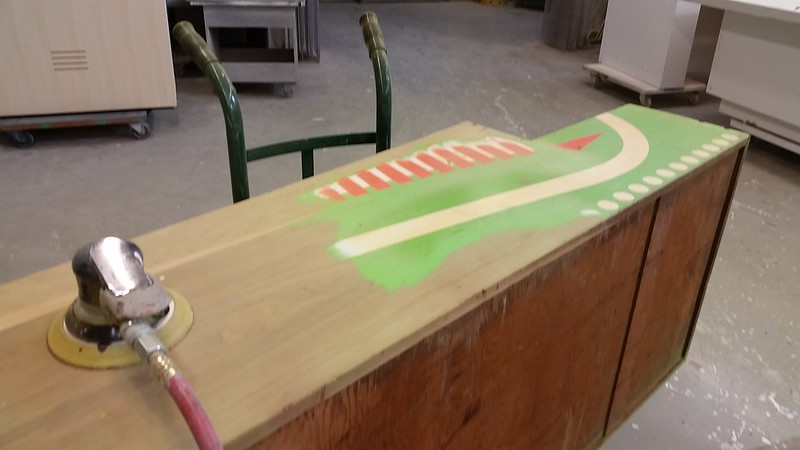
Truth is, most of the trim is in awesome shape, but these siderails are pretty rough and will never look great :(
I'll manage though.

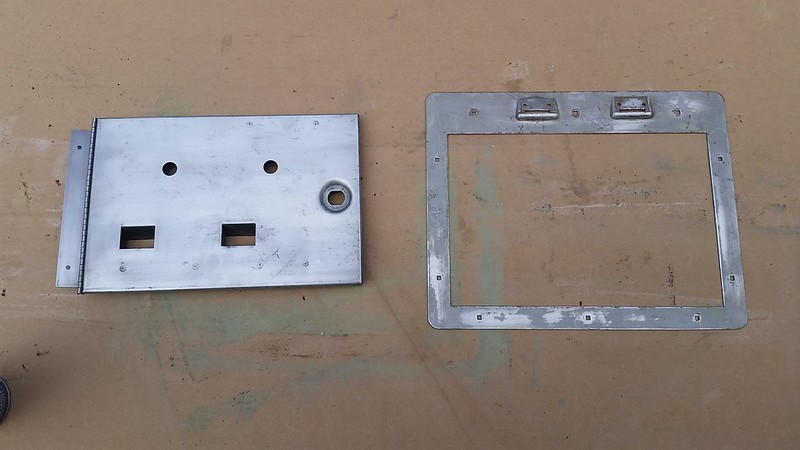
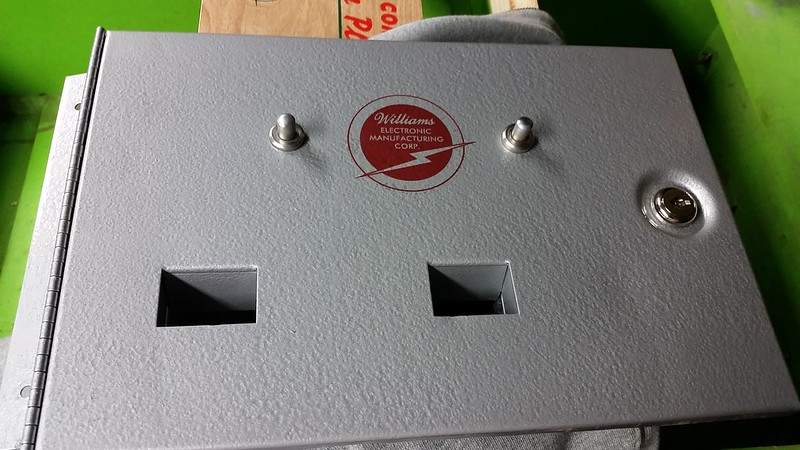
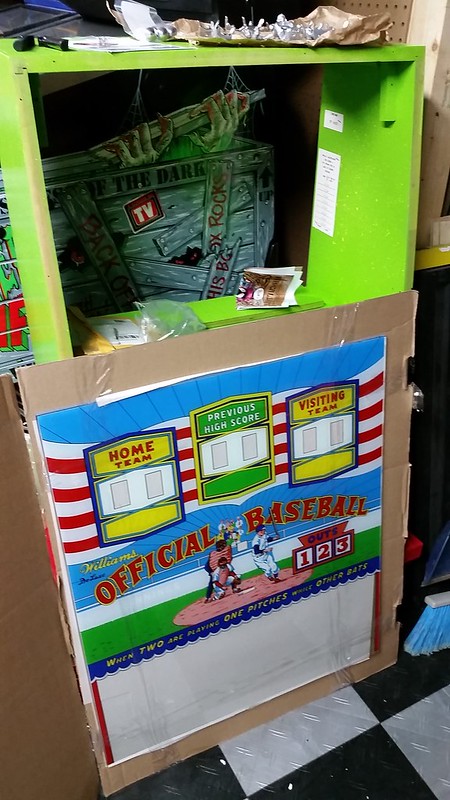
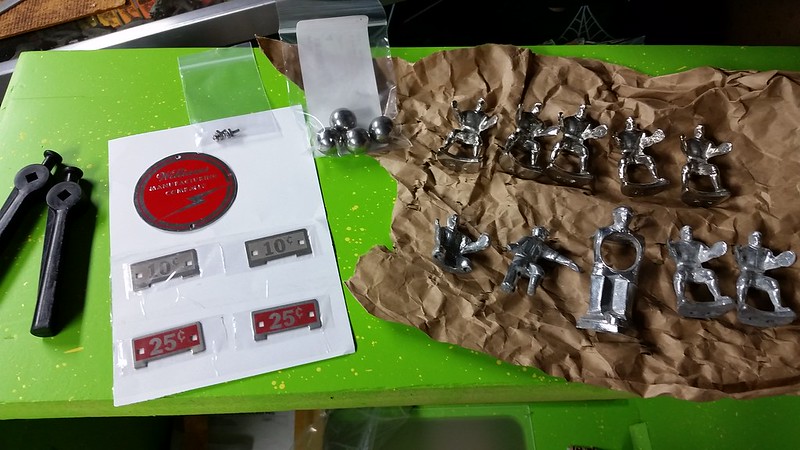
The Williams logos are not 'technically' available.
Let's just say it was a gift.

I also know of a couple of sources for the 3D logo plates that appeared on pitch and bat games prior to Official Baseball. As near as I can tell, this is the game where they switched to screened logos instead of plates... And they're almost always worn off.

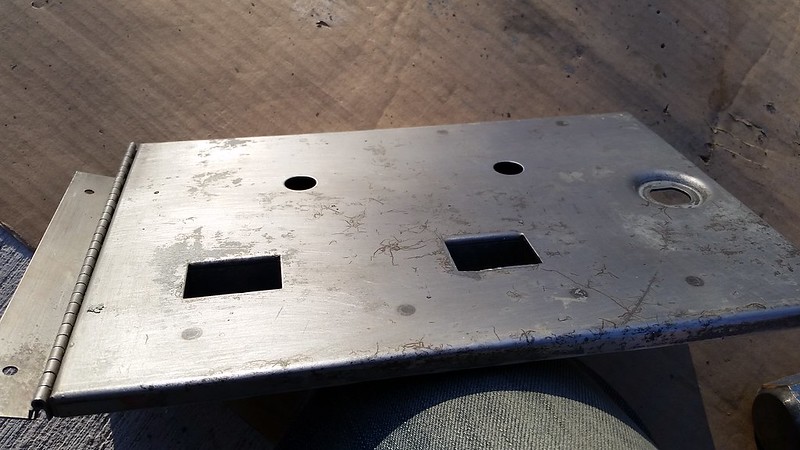
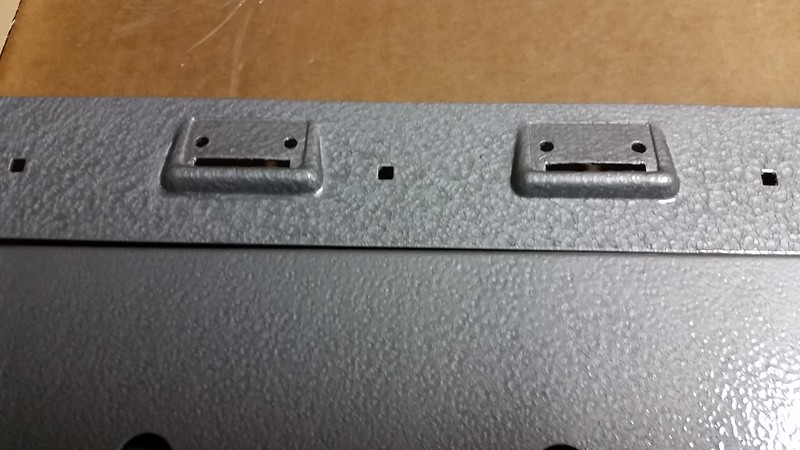
I own a 1959 Pinch Hitter, which I think is the pitch and bat game Williams made just before this one (although they made several pinball machines in-between). It has the 3D version badge. Also, Official Baseball promo flyers showed the older 3D style logo badge but almost all had the screened logo on the door. Now, I have seen a couple of examples with coin doors showing the two bolt holes (indicating they originally had badges), but this is rare. So, my guess is they probably used up what they had at the factory and then completed the bulk of the run with the new doors with silkscreened logos.

There... That was sufficiently boring. My apologies :cool:
Hope you enjoy pinball history.
 
Last edited:

DRANO

Super Member
Nov 15, 2012
2,821
517
113
Mississauga
NO SLEEP TILL A-TOWN!!!
30 days left


I've been at it 20 days now.
I've done a lot of little stuff and still have a pretty good list of tasks in front of me.


I scarfed down lunch and decided to start working on the head cabinet.
I sanded off most of the old paint. I didn't worry too much about getting right down to bare wood all over. I just wanted it smooth enough to see where damage existed so that I could apply some bondo and then sand it again before priming and painting.
Turns out Williams didn't spend a lot on painting these things. There was no primer and the paint almost fell away as I passed the sander over it.


Some of the wood on the cab is separating and in need of more than a few repairs.
My next step will be to make those repairs before I can even think of painting.

While I was on the bench, I mixed up some bondo and started to buld up the missing portion of the control panel now that my wooden insert had been glued in.


After some preliminary sanding it became obvious that I needed to build up the filler a bit more.


Later in the evening I decided to stain the rest of the woodrails. I also popped out the badly matched wood filler and will try a new approach soon.


That's it for tonight.

Dr.@NO
 

DRANO

Super Member
Nov 15, 2012
2,821
517
113
Mississauga
NO SLEEP TILL A-TOWN!!!
29 days left


Big day today!
Another lunch hour spent on cabinet work and small repairs.
Before I could apply bondo to square up the head cabinet (or lightbox as it was referred to BITD) I first had to repair some wood that was separating.
It's important to remember that these games were built with planks of solid wood, not plywood and they don't always stay straight.
Today I glued a few open joints and clamped everything down.


After lunch I got back to my desk and had a surprise email.
My buddy Mike in Minnesota had offered to help me recreate a missing metal part that would have been irreplaceable otherwise. I sent him one of these figurine bases and his metal guy just did an awesome job.
Now I just have to get these polished or chromed.

[url=https://flic.kr/p/qXPqXU]


After dinner and the kids' bedtime I finished up shaping the control panel repair. It had required a second thin layer of bondo. With a sharp sanding block and my dremel I was able to shape it as close to original as possible.

[url=https://flic.kr/p/rSwibj]

[url=https://flic.kr/p/rUG9uW]

I also managed to do a fair repair to the batting mech hole.

[url=https://flic.kr/p/rUG8BJ]

After I was satisified with the CP I moved onto polishing up the remaining coin door parts and re-assembling it. I think it turned out pretty nice. Now I'm just waiting on the new coin slot plates and hardware.

[url=https://flic.kr/p/qY2d6r]


[url=https://flic.kr/p/qXPucE]


The last task of the night was trying a new wood filler for the siderails.
I got a red oak filler at Benjamin Moore (no Circa 1850 BTW) and applied a test.
At first the colour looked way off, but once dry, a lot better!
It took stain very well although a little darker. I gently knocked down the tone with a scotchbrite pad and then, just for fun, I ran a soft pencil over the repair to try and simulate the woodgrain. I think it tunred out okay.

[url=https://flic.kr/p/qY2b5c]

And, that's all for now.

Thanks,
Dr.@NO
[/url][/url][/url][/url][/url][/url][/url]
 

DRANO

Super Member
Nov 15, 2012
2,821
517
113
Mississauga
NO SLEEP TILL A-TOWN!!!
28 days left


Small day for the project today.
Having decided on a wood-filler and performing a stain test that I was happy with, I simply proceeded to fill, sand and stain the remaining trim.

That's about it!


DRANO

Super Member
Nov 15, 2012
2,821
517
113
Mississauga
NO SLEEP TILL A-TOWN!!!
27 days left


I am fast approaching my mid-point on the time I've given myself for this project.

The good news is that many of the small things have been done and my cabinet work has begun.
The bad news is that I discoverd that my friend in our graphics production department was going to be off next week and would not be able to help me cut the masks I needed to finish the cabinet.

Not wanting to take any chances, I rushed to complete the files and send them to him with only 1hr to spare before he left. The process I used to create this file was to import some photography into AutoCAD and trace it against some accurate measurements taken from the cabinet. I was able to export this to Illustrator and scale it to full size and then get it imported into the vinyl cutting software.


So, now I have 4 rolls of masking to 'weed' through (that's the process of removing all the masking I don't need).
I'll spend my lunch hour on monday doing this and then applying a pre-mask so I can easily transfer these onto the cabinet.


I also applied some bondo to the head cab that I had bene cleaning up at the shop and loaded it up in the truck and brought it back home.
I'll sand and square it up over the weekend and, with any luck, I'll have a fresh coat of paint on it by Easter Sunday!


DRANO

Super Member
Nov 15, 2012
2,821
517
113
Mississauga
 
  • Like
Reactions: fanuminski

DRANO

Super Member
Nov 15, 2012
2,821
517
113
Mississauga
NO SLEEP TILL A-TOWN!!!
24 days left


As expected, Easter Sunday was a write-off. Lots of family activites and gatherings so not a lot of time for the project.

All I managed to get done was pull the control panel parts from the rust-remover bath and get the main cabinet off its legs and ready to bring into the office. If you recall the CP photos a few posts back, this stuff was prety black and crusty. The bath did a pretty good job.


I noticed that the cabinet was splitting in a few areas so I glued and clamped it while I had everything handy.

Time to put on the respirator and get to work on this lead-based paint again :(


DRANO

Super Member
Nov 15, 2012
2,821
517
113
Mississauga
NO SLEEP TILL A-TOWN!!!
22 days left


BIG DAY!!!
Well.. I didn't really do anything. However, I did drive over to a friend's place and collected a whack of parts. He was gracious enough to help me out with some shipping and procuring some really key pieces.


What's in the box???
New glass from Shay! I also got him to send me a Humpty Dumpty glass for that upcoming project.


But wait; there's more....


We have 9 men finally! Enough to field a team.
I'm really looking forward to painting these up. The 5 repros didn't come with the bases drilled, so THAT should be fun :(

More to come!

Dr.@NO
 

DRANO

Super Member
Nov 15, 2012
2,821
517
113
Mississauga
Drano you should have your own television series.

It would be verrrrry boring.. trust me.
Mostly me walking back and forth swearing and yelling "where did I put that ______?"

Then again, if the Kardashians can do it.... ;)
Sadly, my breasts are only half as impressive.
 

DRANO

Super Member
Nov 15, 2012
2,821
517
113
Mississauga
 
Last edited:

DRANO

Super Member
Nov 15, 2012
2,821
517
113
Mississauga
NO SLEEP TILL A-TOWN!!!
20 days left


ALRIGHT!!!
I'm 30 days in and I REALLY want to get this cabinet painting underway. My fear is that the vinyl masking material will damage my green basecoat and all this work will be for nothing and I won't have the game ready for Allentown. In order to minimize the risk, I want the green base to dry for as long as possible. The head will have cured for a week by the time I get to it this weekend with my first stencil test. That 'should' be enough.

In my infinite wisdom I also decided that I would use a spray can to paint everything. I wanted to ensure it was all lacquer based and didn't want to slow myself down by relying on the paint facilities at work.
I found a wide array of artist's colours at my local Curry's art supply but I have cleaned them out of the green and have had to order more. Hopefully they'll be here by Tuesday. I should have enough to complete the more important exterior panels and can do the interior afterwards, once I get the extra cans.

In preparation for all this, I started to weed out the vinyl masks I cut at work and then applied a pre-mask on top that will allow me to easily transfer them onto the cabinets.


On the left is a full set of 5 masks for the white paint and the roll on the right has 5 more for the red.


When I got home I tackled a few more small things later in the evening.


Here's the Total Play meter that I pulled from the cabinet. Pretty nasty!


It sat overnight in the rust removal bath and then I just gave it a quick polish with a dremel tool. Much better now! I'm still amazed this thing only rolls up to 9999 ;)


I had an unusually free evening so I also decided to tackle a few other things. I removed some old dry electrical tape from the lamp bases for the cabinets and re-wrapped them with new tape.
Then, I decided I would take apart and clean the pitching unit.

This unit is highly specific to this game only since it has an elevator shaft that is designed to lift the balls up to the pitcher via an opening in the umpire's chest. This part was filthy and covered in old grease. Now, it worked fine and there was no way that I was going to get this looking perfect again, but I at least wanted to give it a decent once over and light cleaning, plus re-lube it with some new teflon grease.


I finally got it all back together just after 12:30 and had to get to bed. It took me another 15 min just to clean my black hands :(

Anyway... 20 days left.
I am nervously awaiting one more package with my repro ball sheild and some important hardware.
After that arrives and I get this paint on, I can probably breathe a little easier.

Dr.@NO
 
Last edited: