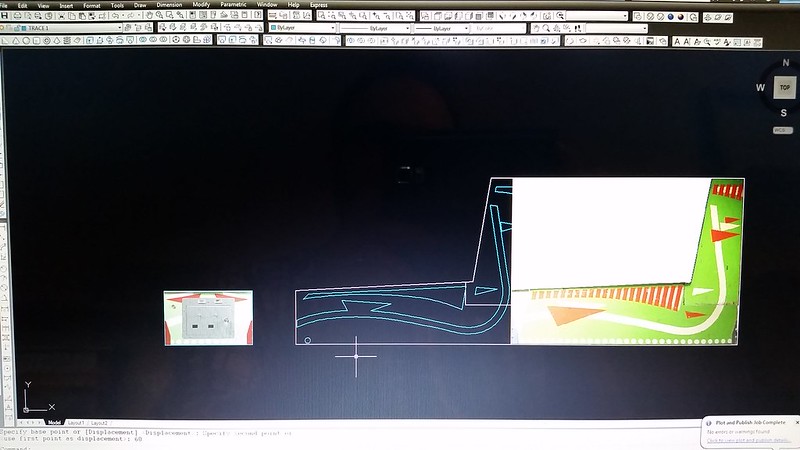
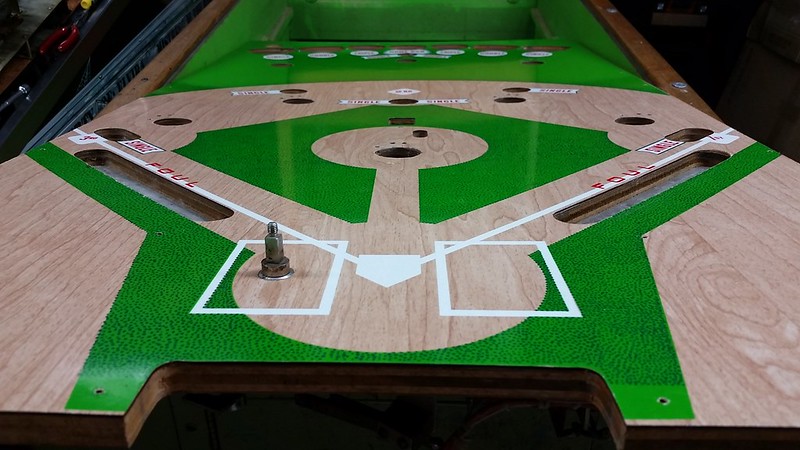
How does the new PF layout shoot on the re-theme? Does revamping the left orbit make it difficult to hit now?
D
D
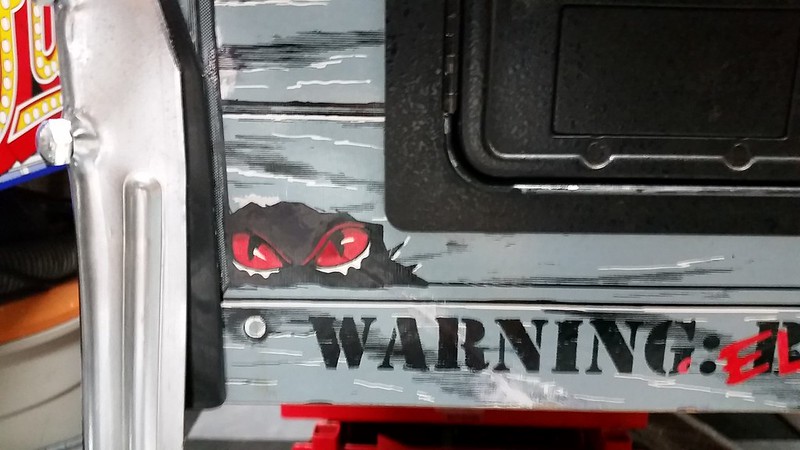
Funny enough, it feels way better now. It used to have a massive opening and produced sloppy shots, now it really motors through the orbit and feels super smooth. So nice in fact, that we're planning to add a spinner there.How does the new PF layout shoot on the re-theme? Does revamping the left orbit make it difficult to hit now?
D


You make things look so easy!
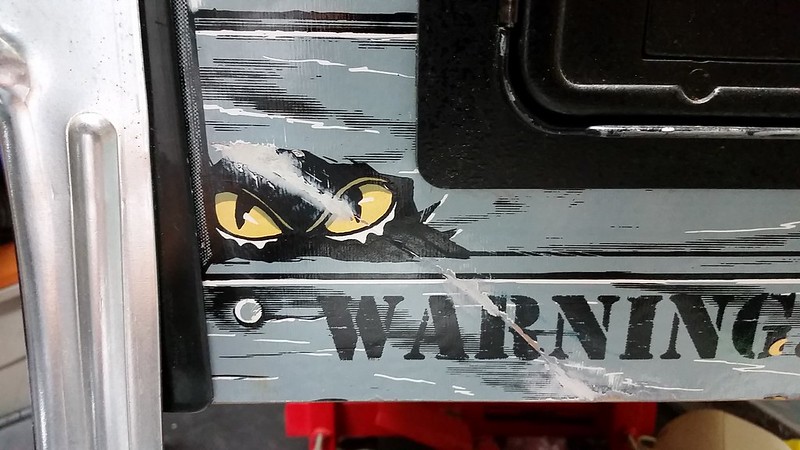
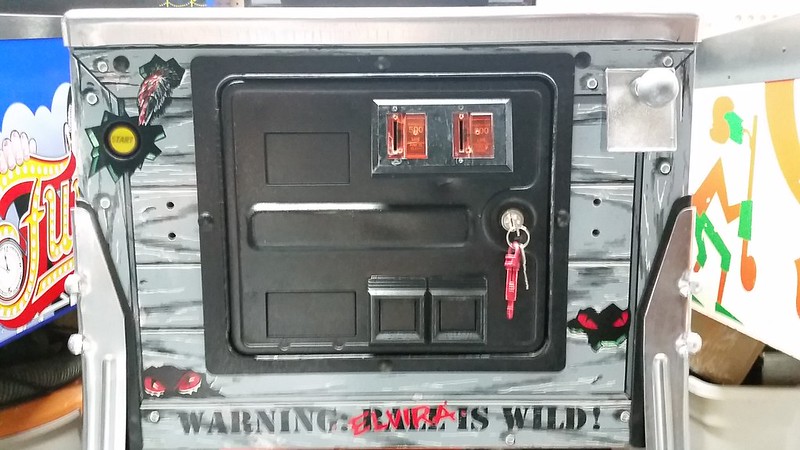
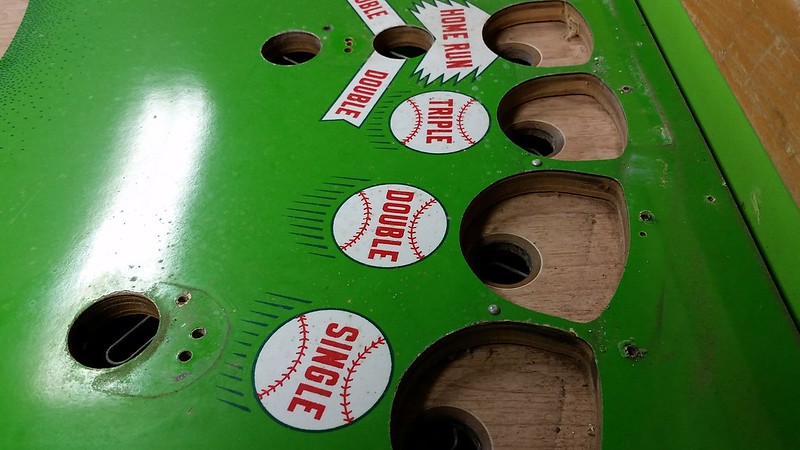
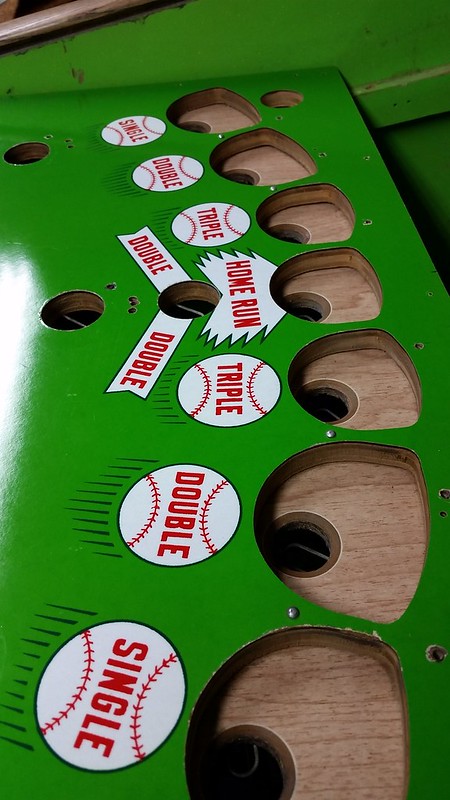
If you're just using sharpie to fill in the colour, are you worried that it'll smear easily? Not sure how well the marker would stay on top of the old paint. Are you finding that the colour fades at all as the wood absorbs the ink? It's definitely an interesting way to do touch ups if it works though-much easier and faster than painting.
This is just plain cool. My only question would be how do you colour match a Sharpie? They come in many colours, but some colours even Sharpie does not make.
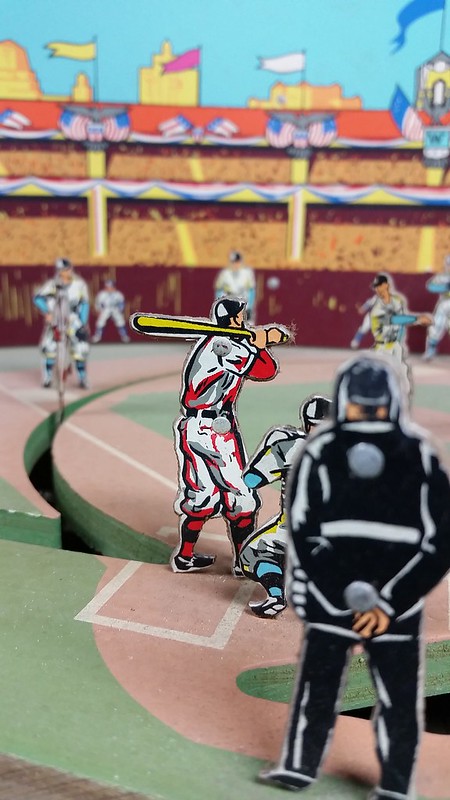

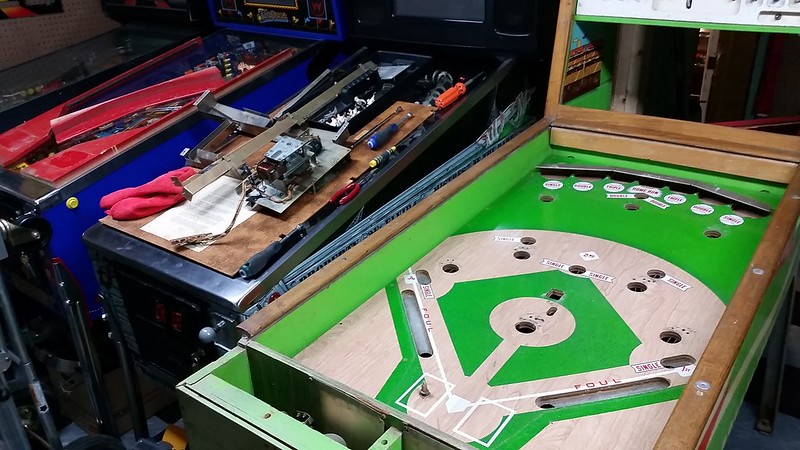


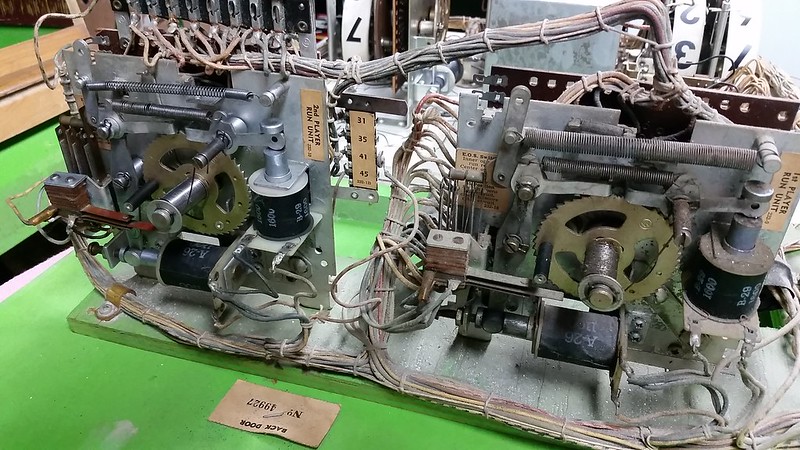
That last photo is incredible. You could tell someone it was the engine out of a time machine and they would believe you. So complex, yet so simple. It must have been awesome to design things like this back in the day.
) and how cool it must have been to engineer these things.