NO SLEEP TILL A-TOWN!!!
45 days left
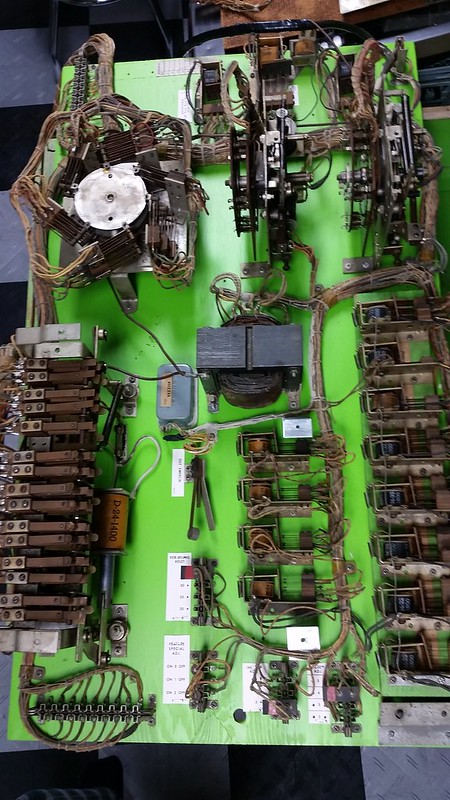
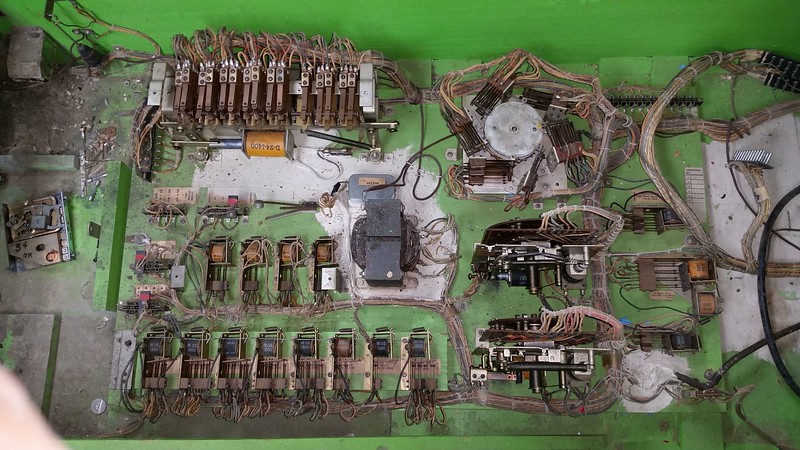
Well, it's my 5th day working on this project and my goal was to get all the mechs in the head cab working 100%.
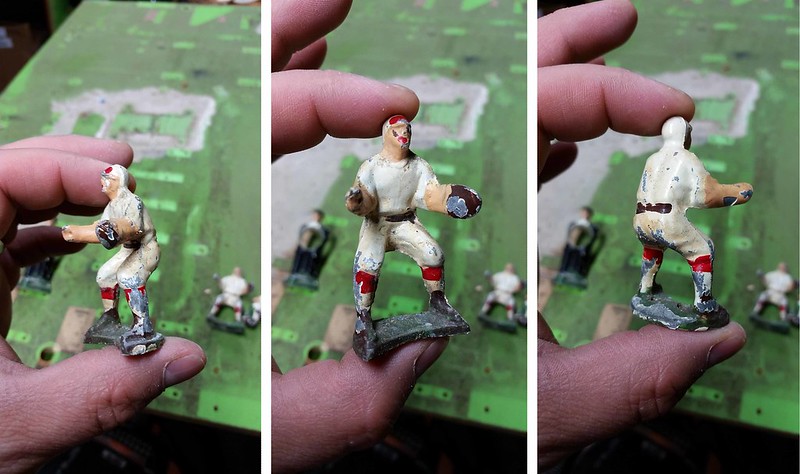
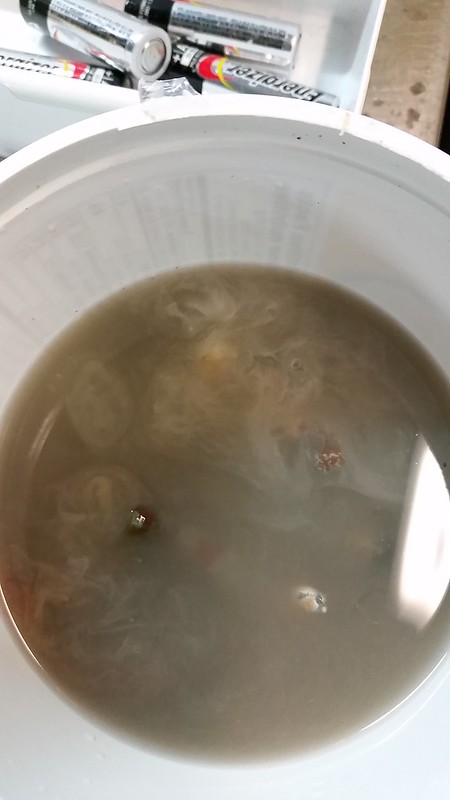
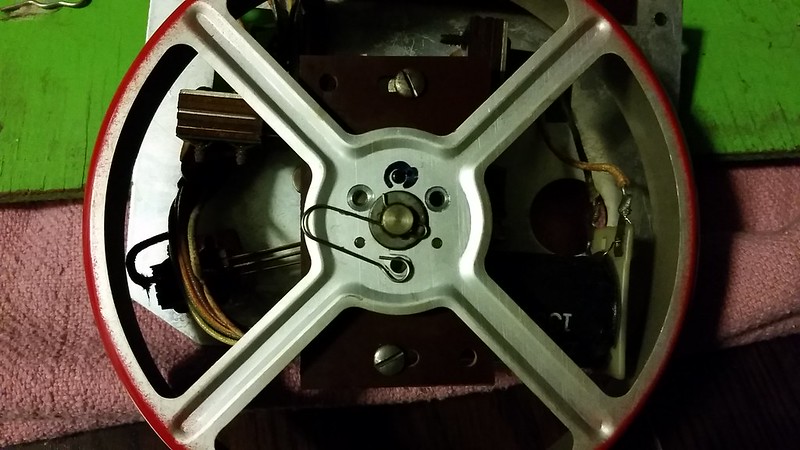
I managed to pop out every score reel and inspect them. All needed a good clean and some orange wipes did a great job of cutting through 55 years of grime.

5 out of the 6 reels worked great. The 'ones' reel for the High Score to Date, however, was not advancing reliably.
I had to carefully take it apart, remembering and marking the position of all parts so I didn't mess up the zero position. In the end it was just more dried up grease causing a small indexing finger to not swivel far enough to catch the teeth on a cog that, in turn, spins the wheel and position of the reel.
And, with that, all the upper mechs should be good to go for a long time.
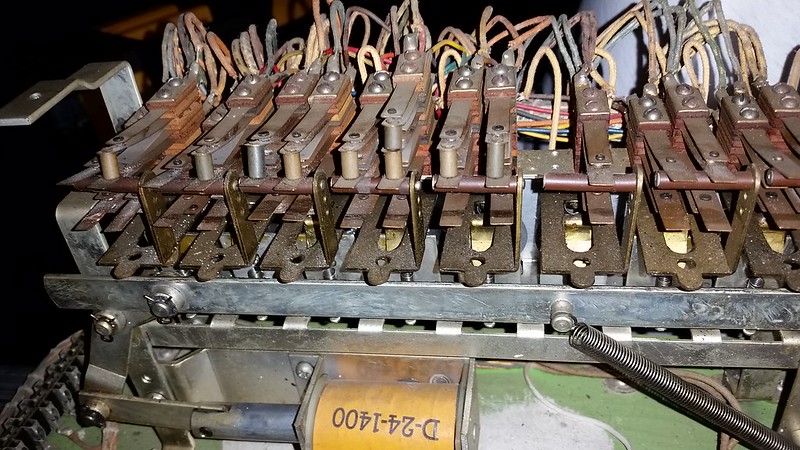
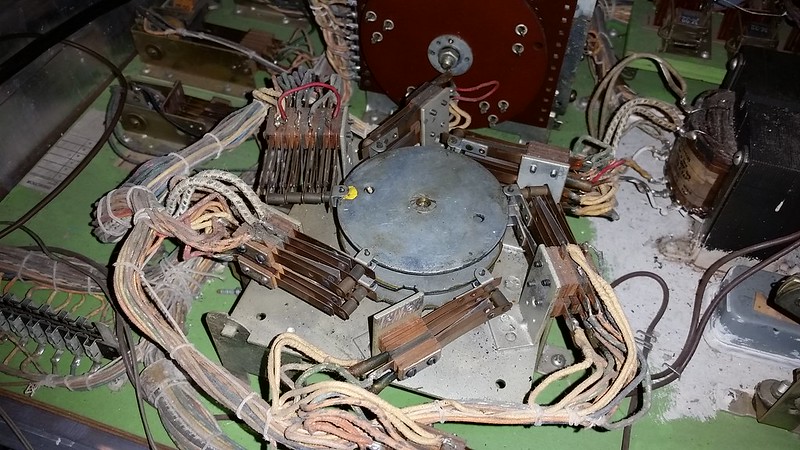
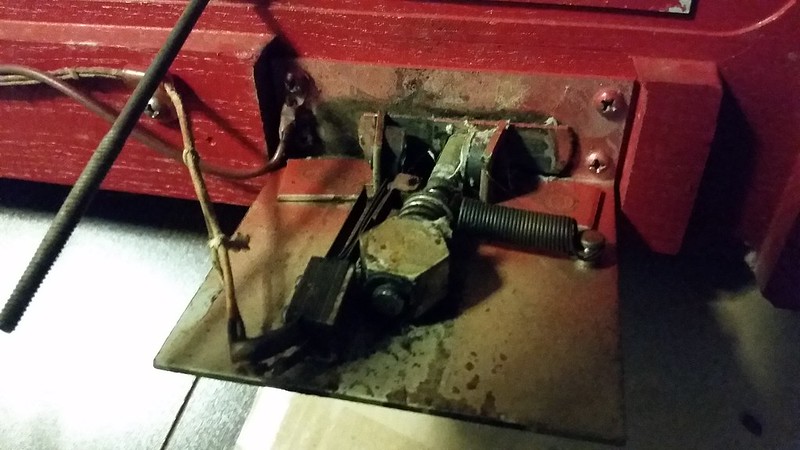
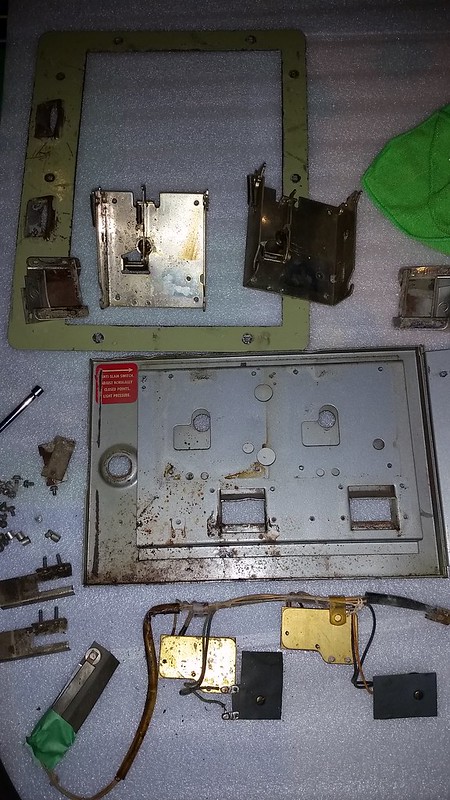
I also spent a few minutes filing and gapping all the relay switch contacts.
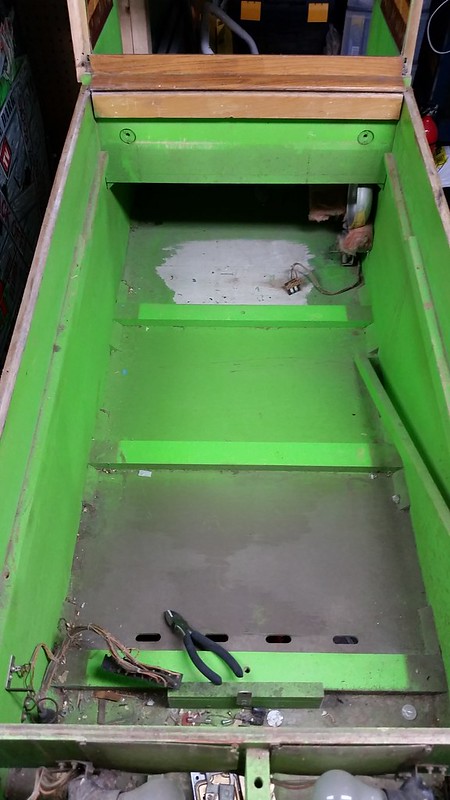
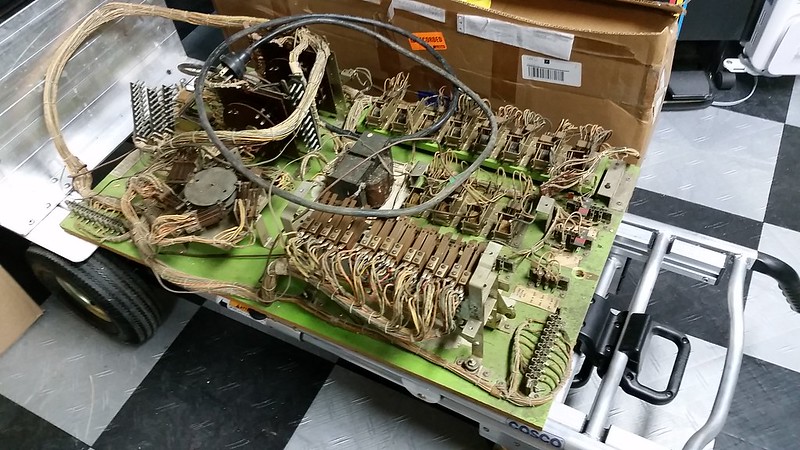
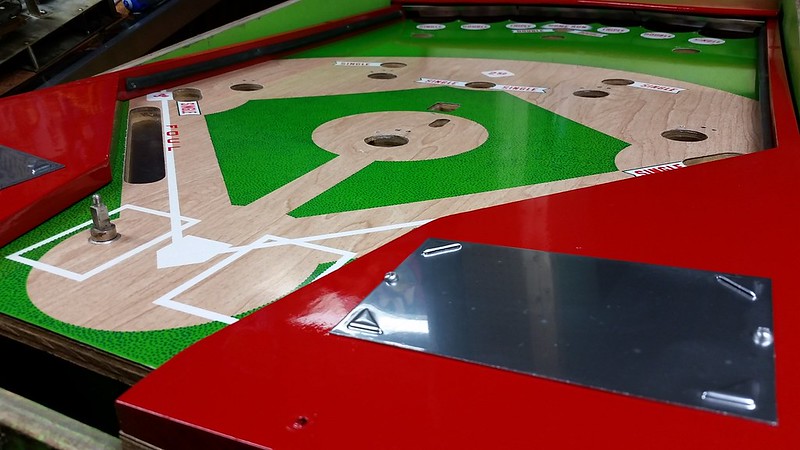
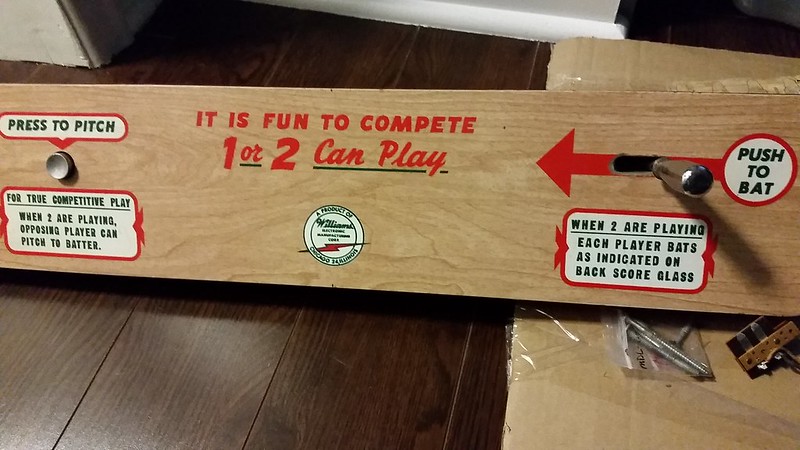
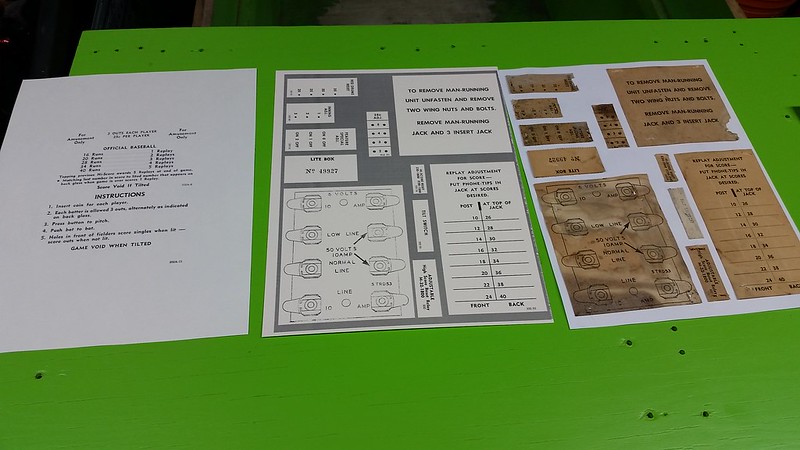
Now, here is what lies ahead of me next!
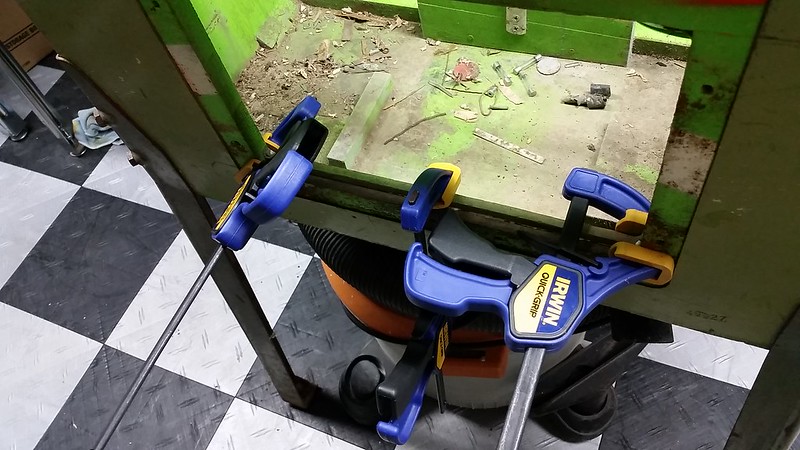
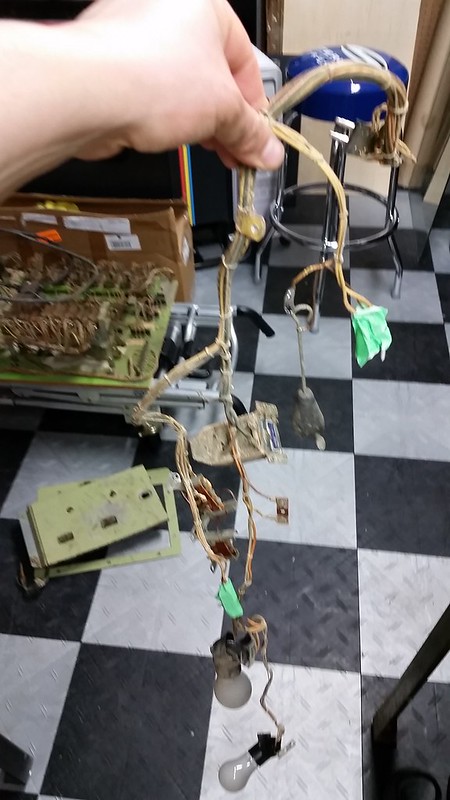
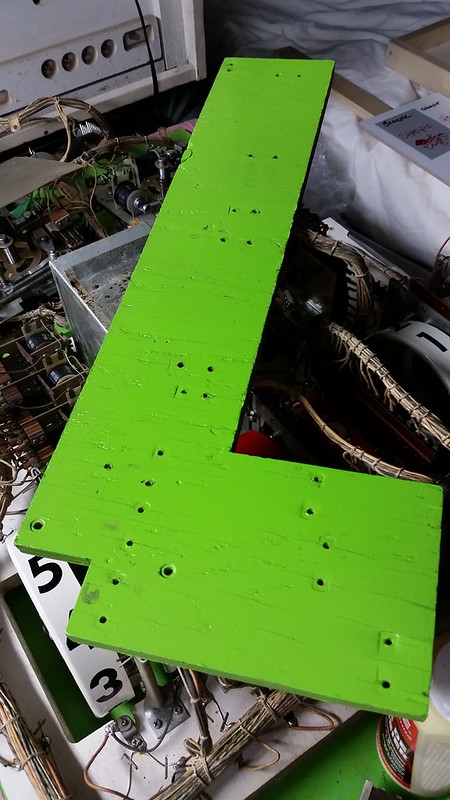
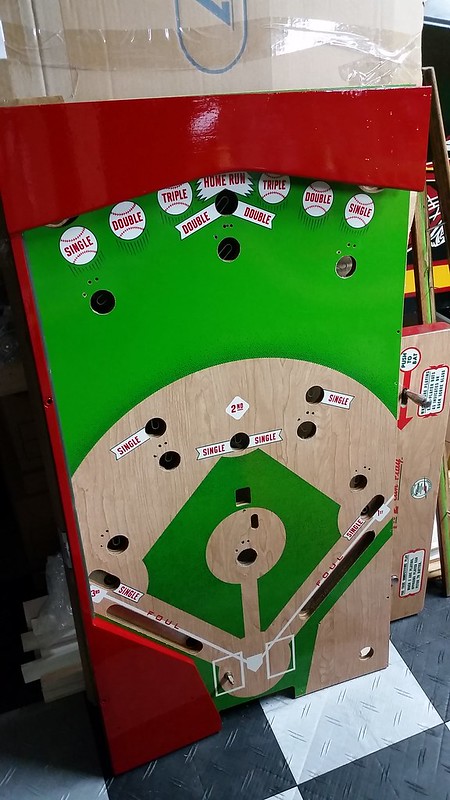
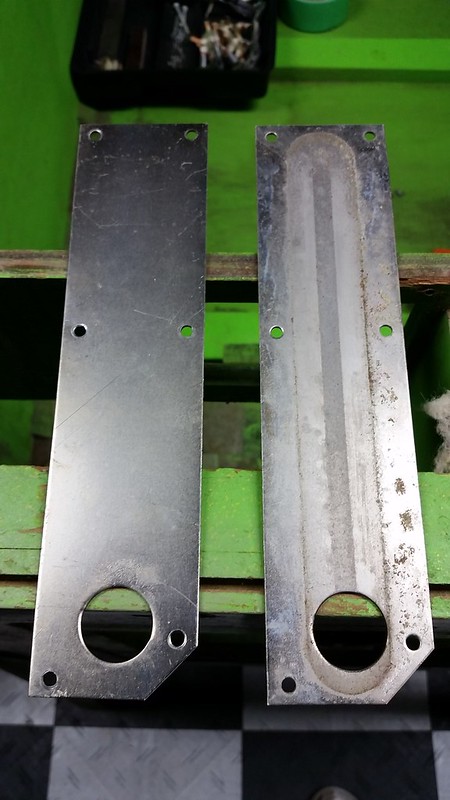
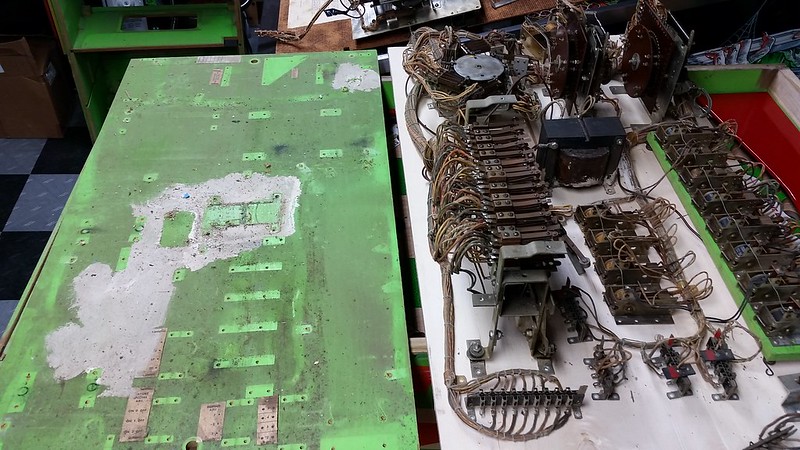
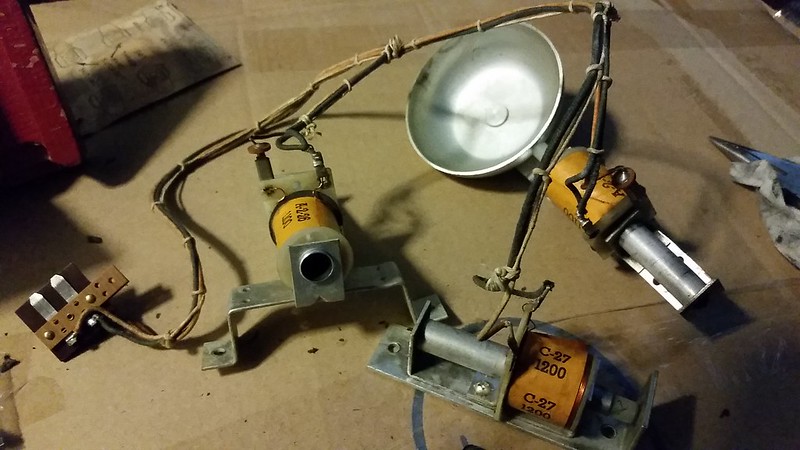
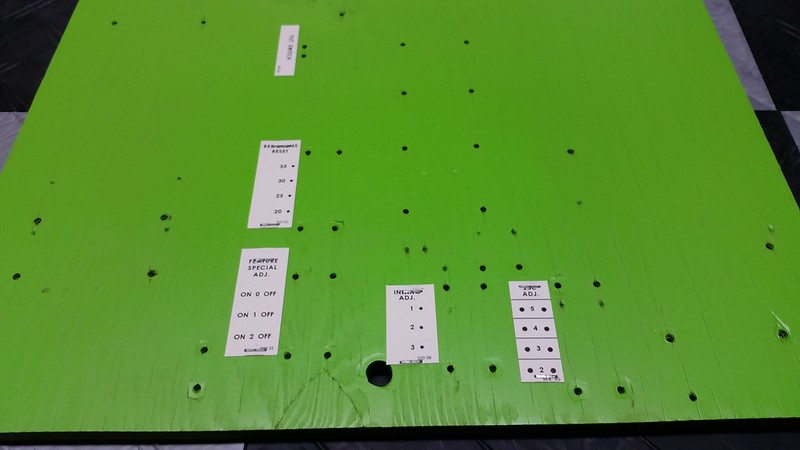
I'm hoping to pull this entire panel out of the main cab tomorrow.
Just 45 days to go.
45 days left
Well, it's my 5th day working on this project and my goal was to get all the mechs in the head cab working 100%.
I managed to pop out every score reel and inspect them. All needed a good clean and some orange wipes did a great job of cutting through 55 years of grime.
5 out of the 6 reels worked great. The 'ones' reel for the High Score to Date, however, was not advancing reliably.
I had to carefully take it apart, remembering and marking the position of all parts so I didn't mess up the zero position. In the end it was just more dried up grease causing a small indexing finger to not swivel far enough to catch the teeth on a cog that, in turn, spins the wheel and position of the reel.
And, with that, all the upper mechs should be good to go for a long time.
I also spent a few minutes filing and gapping all the relay switch contacts.
Now, here is what lies ahead of me next!
I'm hoping to pull this entire panel out of the main cab tomorrow.
Just 45 days to go.
Last edited:
")