They have premade light up flipper button kits from various online vendors such as Coin Taker but they are pretty damn pricey at over $30. I am going to show you what I did to light up my own flipper buttons and what parts I used:

Transparent Cabinet Flipper Button - 1-1/8" Shaft - Clear [ $1.75/each x2 ]
http://www.pinballlife.com/index.php?p=product&id=3332
Ablaze Premium Ghost Buster 1-SMD-LED #555 Wedge Base Lamp With Flexible 90° Angle - Purple [ $0.99/each x2 ]
http://www.pinballlife.com/index.php?p=product&id=3107
Miniature Wedge Base 2-Lead Socket With Rear Mounting Bracket [ $0.95/each x 2 ]
http://www.pinballlife.com/index.php?p=product&id=294
I went to Sayal and bought a pack of crimp quick disconnects with a piggy back tabs [ $3.00 for pack of 10 ] and I had a bunch of female quick disconnects from previous MAME projects which otherwise can be had for pretty cheap as well.


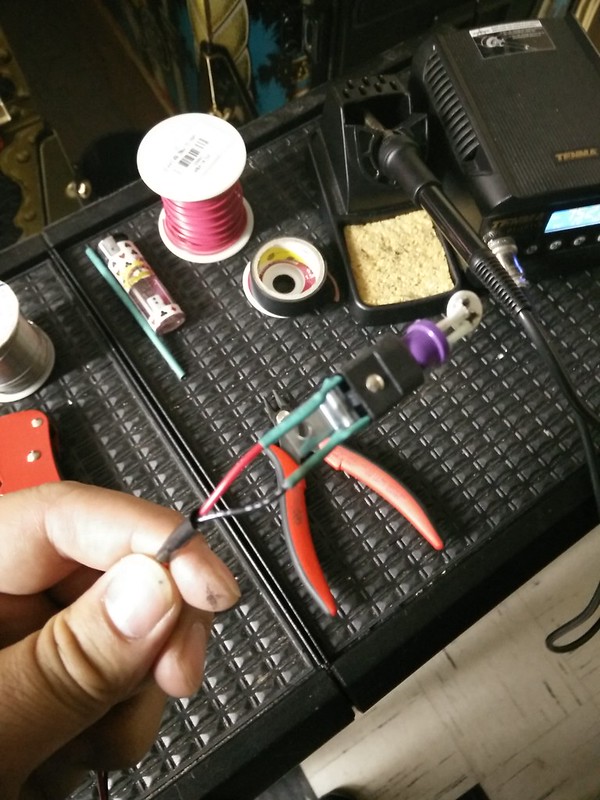
Some other items I used was red and black wire, heat shrink tubing and two small wood screws. You will need basic tools such as side cutters, wire stripper, crimper, lighter and soldering iron.
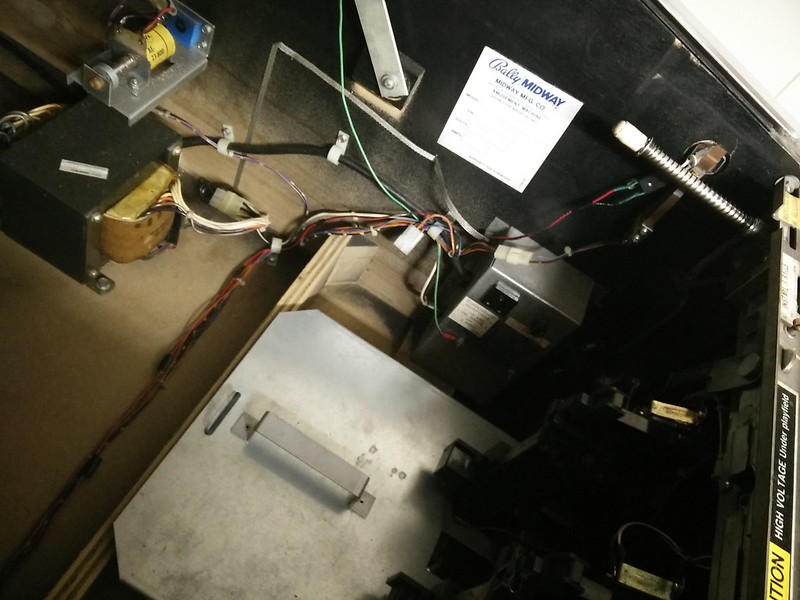
Now first step is to remove your old flipper buttons and install the new clear ones. The nut that is holding the flipper button can be a bit tight to remove by hand so you can use a pair of big pliers or if you have a socket big enough in your set that will work too. You will want to remove the flipper opto board or leaf switch stack as well as shooter rod to make this easier. Remember when you are tightening the nut don't over do it because the button can start digging into the cab!
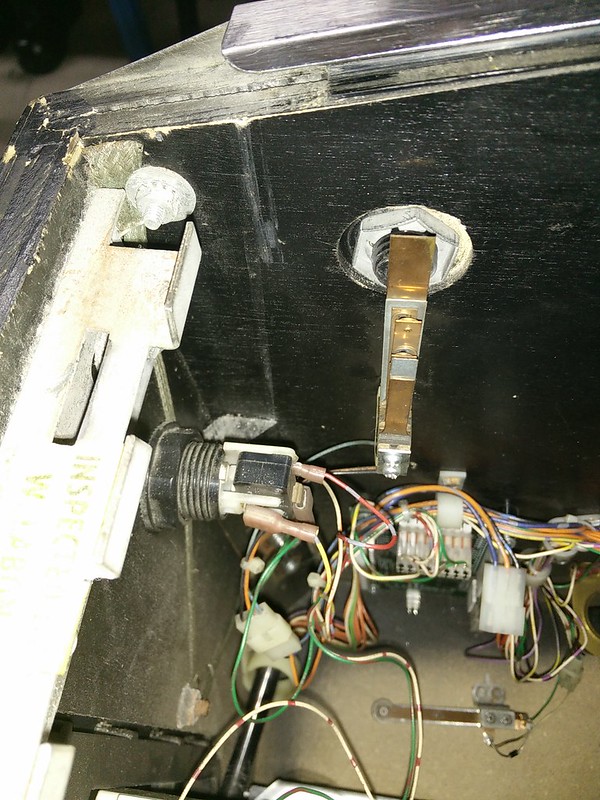
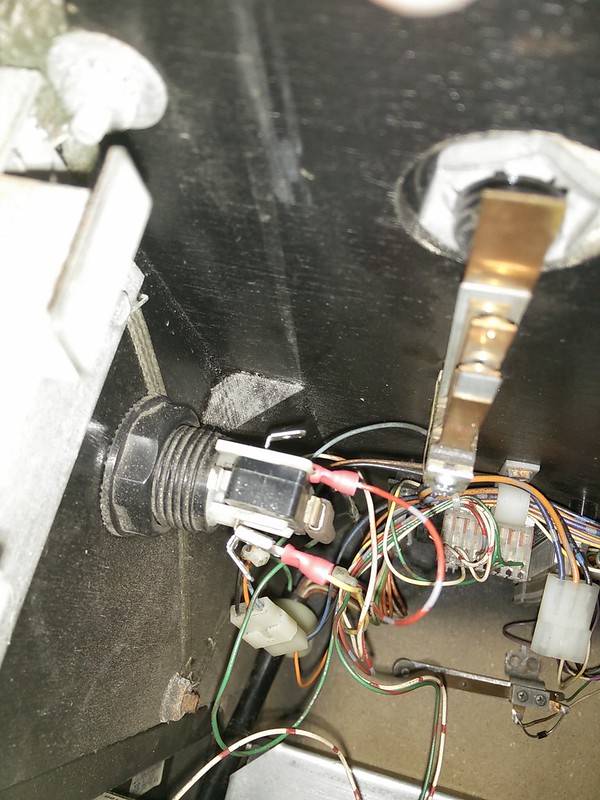
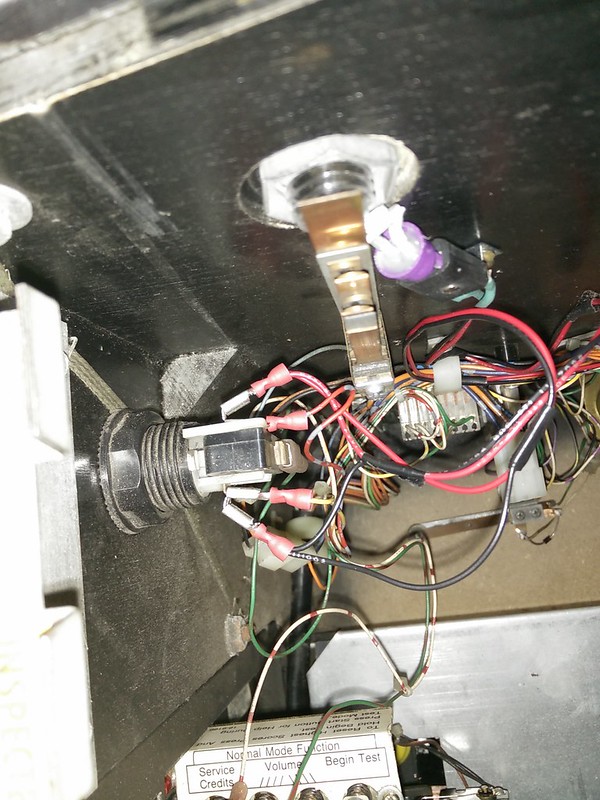
We will be tapping into the Start button to power our flipper buttons so carefully snip the wire from the quick disconnect for the bulb and you will be recrimping it using the quick disconnect with the piggy back tab shown above.
Before:
After:
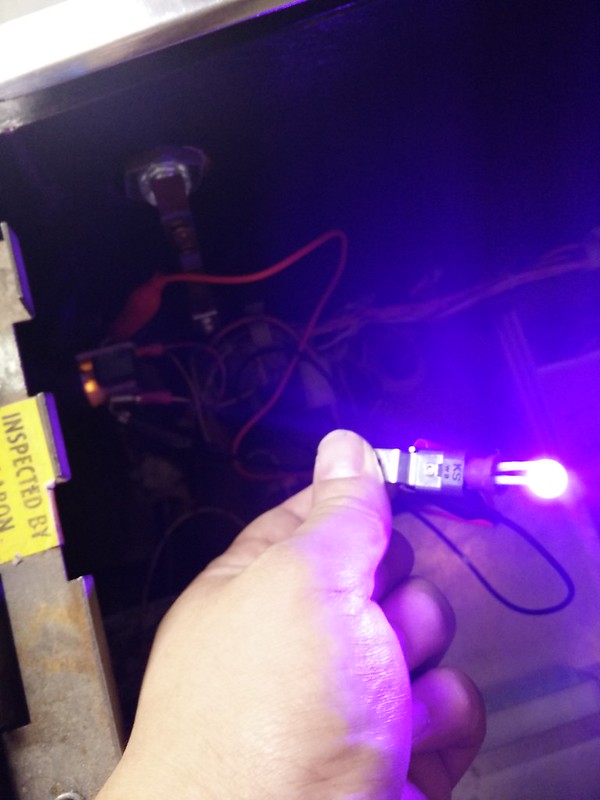
Be very careful and I normally don't recommend working on your game on with the playfield up because you can easily short or mess something up pretty badly. You can test out using some gator clips on both tabs from the Start button to see if the LED lights up.
Now we need to create a wiring harness for each bulb socket from each flipper button. I ran one of the wires inside the cab from the right flipper button to get the proper length to the Start button. Then I soldered both wires to the bulb socket and tidied it up with some heat shrink tubing.
I used a small wood screw to mount the bulb socket directly below and off to the side of the flipper button. I made sure it didn't interfere when the button is pressed in to engage the leaf switch stack. I ran the wire neatly using the existing cable holders inside the cabinet from the right flipper button to the Start button. I did the same thing to the other side as shown below.

I joined up the positive and negative pairs and crimped on the female quick disconnects

Now all that is left to do is hook up on the piggy back tabs and you should be all good to go!
Do one last double check before you turn your game on you see if your flipper buttons light up

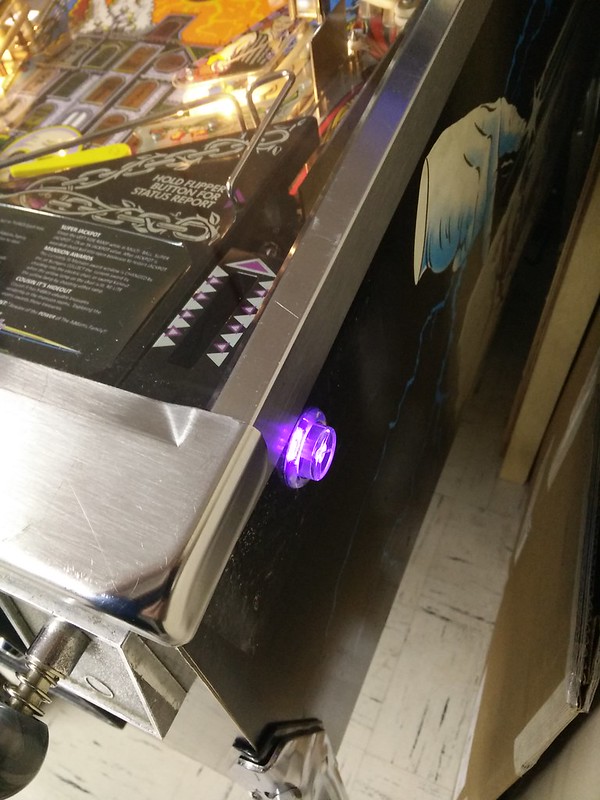
The nice thing about tying into the Start button bulb is that during attract mode the flipper buttons will flash but once you start the game it stays on solid.
[youtube]https://www.youtube.com/watch?list=UUeONvLF7yqkCiEM_76-Kg4Q&feature=player_detailpage&v=A_ZqUNW0tHU[/youtube]
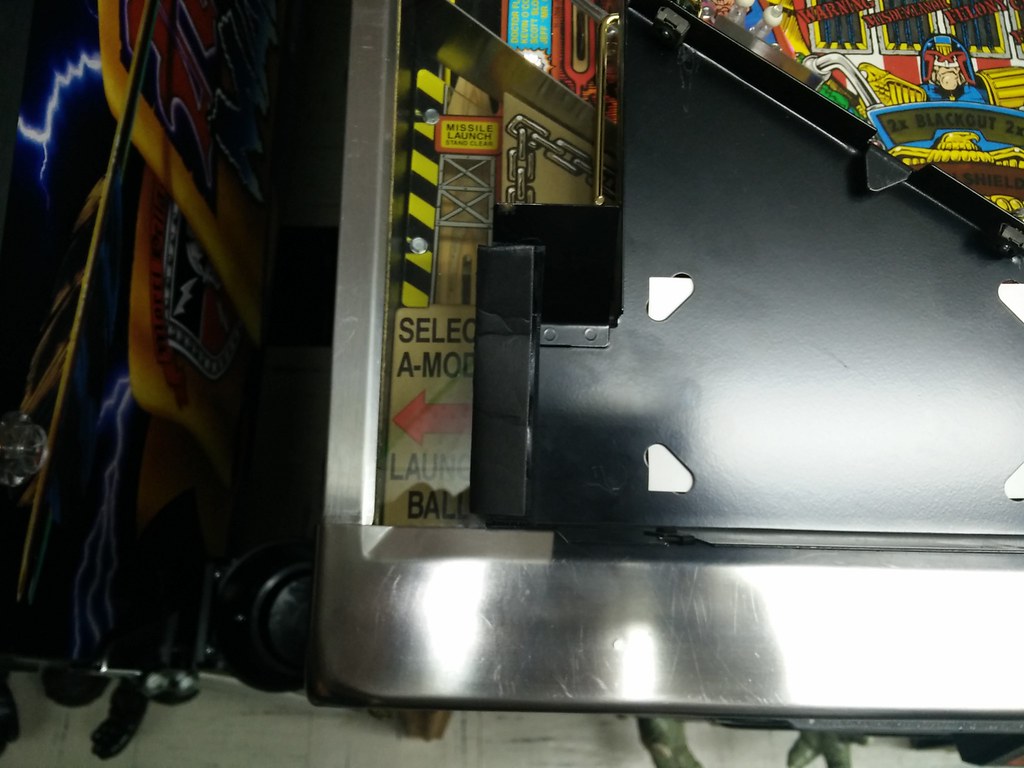
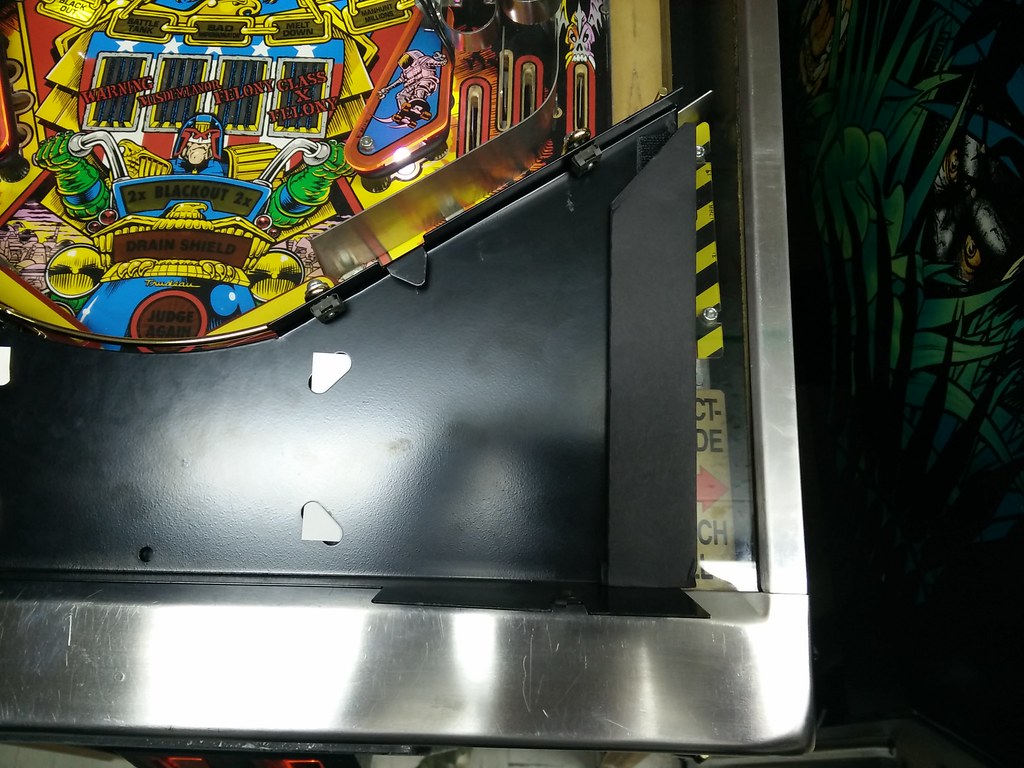
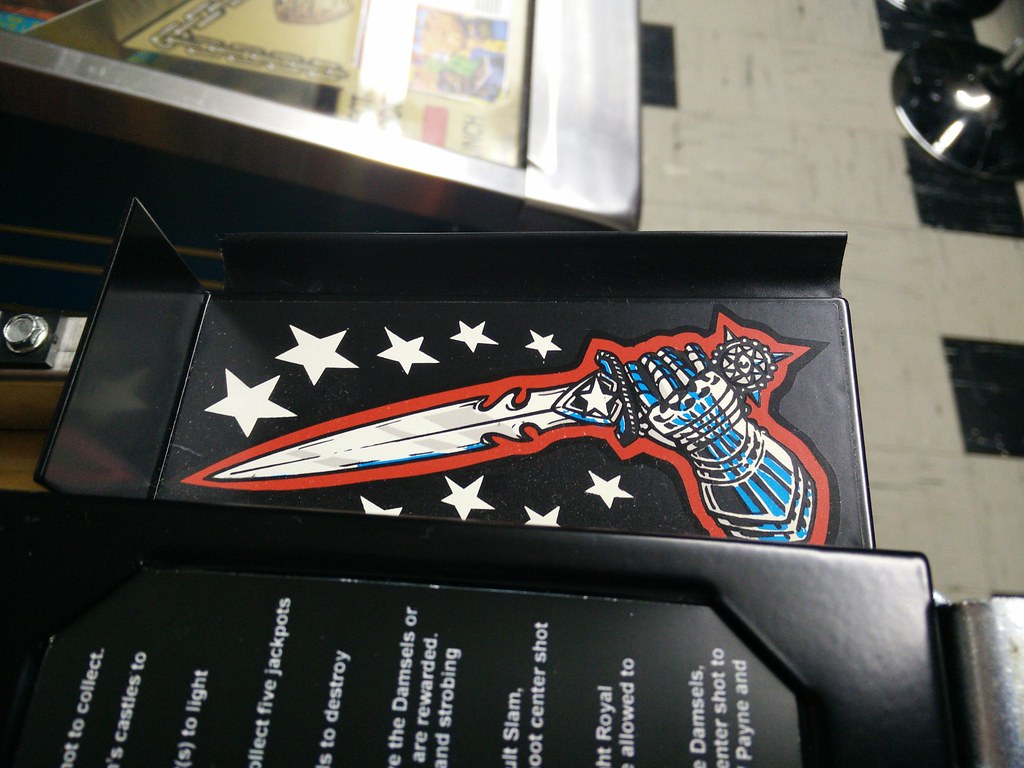
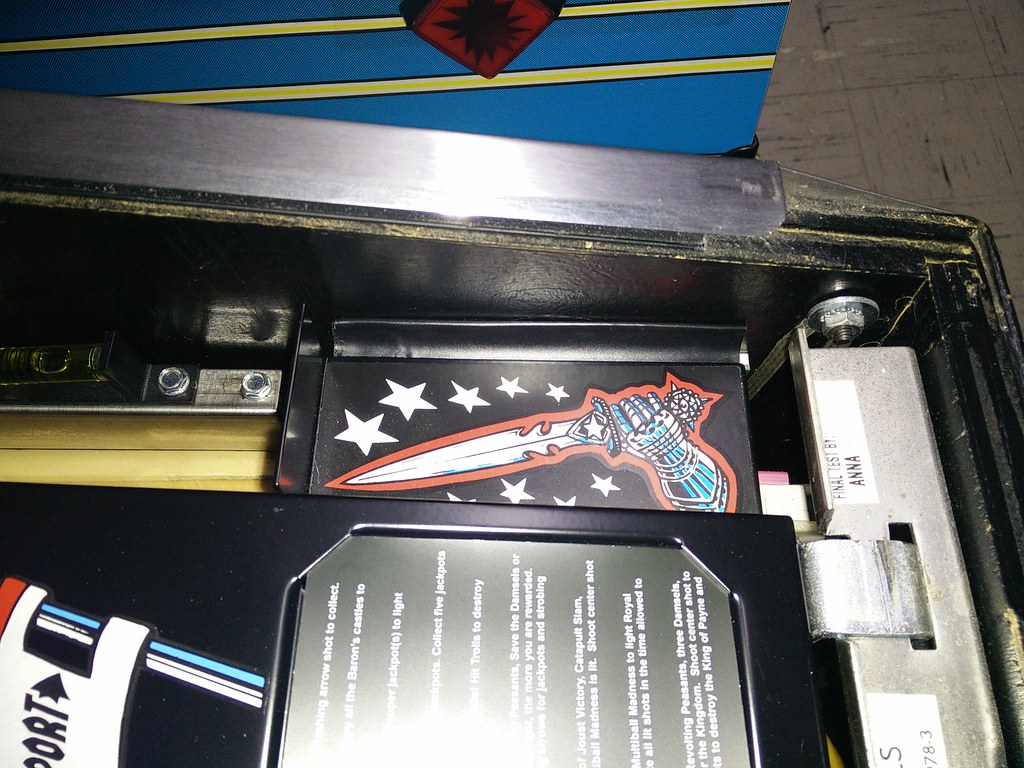
I have to think about how to address the bleeding on both sides under the apron as seen here. I will post an update later as it is getting late now (2am :FP
Enjoy and if you need any help or have any questions feel free to ask me here or via PM.
-Mike
Transparent Cabinet Flipper Button - 1-1/8" Shaft - Clear [ $1.75/each x2 ]
http://www.pinballlife.com/index.php?p=product&id=3332
Ablaze Premium Ghost Buster 1-SMD-LED #555 Wedge Base Lamp With Flexible 90° Angle - Purple [ $0.99/each x2 ]
http://www.pinballlife.com/index.php?p=product&id=3107
Miniature Wedge Base 2-Lead Socket With Rear Mounting Bracket [ $0.95/each x 2 ]
http://www.pinballlife.com/index.php?p=product&id=294
I went to Sayal and bought a pack of crimp quick disconnects with a piggy back tabs [ $3.00 for pack of 10 ] and I had a bunch of female quick disconnects from previous MAME projects which otherwise can be had for pretty cheap as well.
Some other items I used was red and black wire, heat shrink tubing and two small wood screws. You will need basic tools such as side cutters, wire stripper, crimper, lighter and soldering iron.
Now first step is to remove your old flipper buttons and install the new clear ones. The nut that is holding the flipper button can be a bit tight to remove by hand so you can use a pair of big pliers or if you have a socket big enough in your set that will work too. You will want to remove the flipper opto board or leaf switch stack as well as shooter rod to make this easier. Remember when you are tightening the nut don't over do it because the button can start digging into the cab!
We will be tapping into the Start button to power our flipper buttons so carefully snip the wire from the quick disconnect for the bulb and you will be recrimping it using the quick disconnect with the piggy back tab shown above.
Before:
After:
Be very careful and I normally don't recommend working on your game on with the playfield up because you can easily short or mess something up pretty badly. You can test out using some gator clips on both tabs from the Start button to see if the LED lights up.
Now we need to create a wiring harness for each bulb socket from each flipper button. I ran one of the wires inside the cab from the right flipper button to get the proper length to the Start button. Then I soldered both wires to the bulb socket and tidied it up with some heat shrink tubing.
I used a small wood screw to mount the bulb socket directly below and off to the side of the flipper button. I made sure it didn't interfere when the button is pressed in to engage the leaf switch stack. I ran the wire neatly using the existing cable holders inside the cabinet from the right flipper button to the Start button. I did the same thing to the other side as shown below.
I joined up the positive and negative pairs and crimped on the female quick disconnects
Now all that is left to do is hook up on the piggy back tabs and you should be all good to go!
Do one last double check before you turn your game on you see if your flipper buttons light up
The nice thing about tying into the Start button bulb is that during attract mode the flipper buttons will flash but once you start the game it stays on solid.
[youtube]https://www.youtube.com/watch?list=UUeONvLF7yqkCiEM_76-Kg4Q&feature=player_detailpage&v=A_ZqUNW0tHU[/youtube]
I have to think about how to address the bleeding on both sides under the apron as seen here. I will post an update later as it is getting late now (2am :FP
Enjoy and if you need any help or have any questions feel free to ask me here or via PM.
-Mike